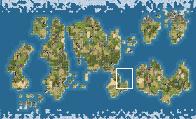
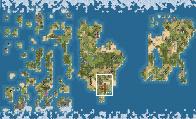
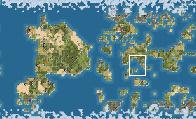
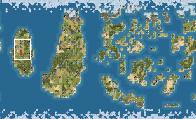
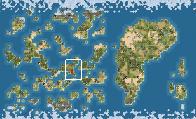
None of these represent the Actual Map. But they were part of the Regeneration Sequence on the way to the Actual Map: some big areas, some small areas, most reachable with Galleys. The White Squares denote Starting Location.
Originally, I was going to opt for an Inland Start, so as to maximize my chance of starting on a big landmass. But in the end, another Start called out to me.
More of my thinking will be outlined in the In Game Notes (
035-KMOD-TACKY.txt). But for now, let me just say a few things:
- I'm Whipping.
- But this will be a Whipping Game.
- I'll only build a few Early Wonders.
- Maori Statues
- Most definitely, in the Capital.
- This will be a Fighting Game!
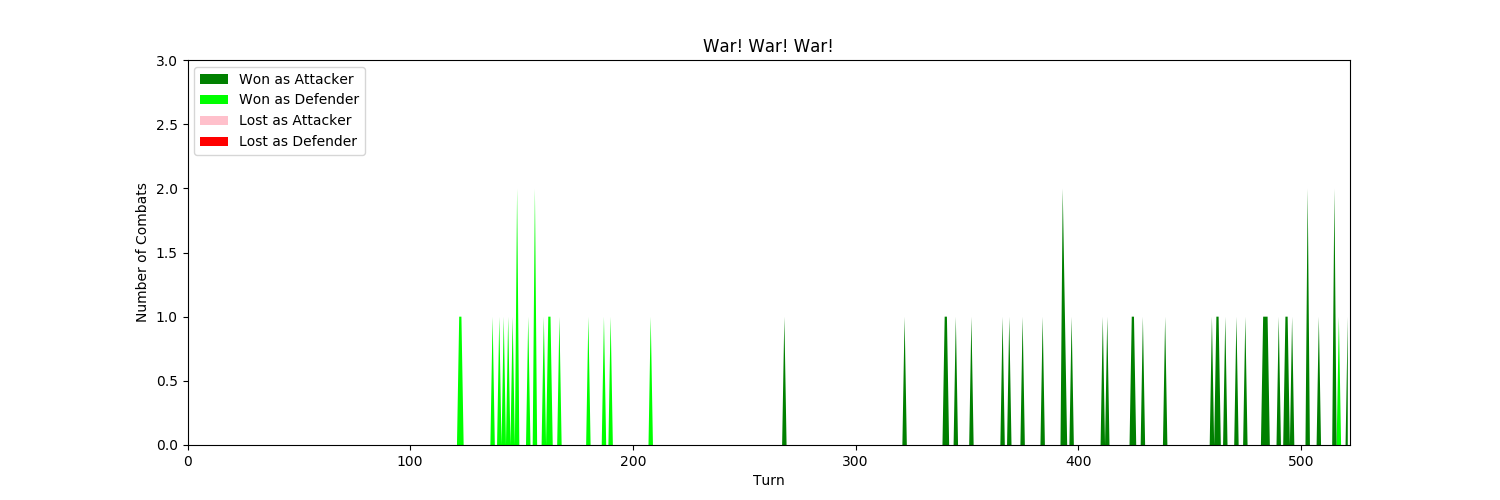
- As stated elsewhere, I want to fight early and often, shifting the Combat Graph to include earlier Eras.
- If sharing a Continent with another, this will (and/or may) include:
- Let us shoot for a target of every other Build being a Unit.
- And once made, put into immediate use.
- {Outside of Barbarians, I conducted almost no Military Operations. I Played This Map fourteen times. And after the first few, I stopped trying to be aggressive. It's just not my thing.}
Setting Recap
Raging Barbarians
Now, I won't say Barbarians weren't a problem.
{So, don't ask me what I'm really saying.} But by the last Play Through, I'd hit upon the perfect solution:
- Archers By Land
- My Archers started with Combat I and I placed them on Forests and Forested Hills.
- I lost not a one...
- Promoting a few upwards of three times in the process.
- Triremes By Sea
- Once again, losing not a one.
- Well, until I started Attacking those Galleys with Promoted Units.
- And then, it was just like shooting fish in a barrel.
In and of themselves, all those Barbarians weren't such a problem. But it does mean I needed to Research Archery quite quickly. And then, because all of my Food came from the Sea, I needed to follow that up with Metal Casting for Triremes. I mean, there are other ways to go. I could have Built The Great Wall. But it really was Archers or The Great Wall followed by Metal Casting and Triremes.
I figure, if a person only had to concentrate on Land Units, they'd be up a great deal, opening up whatever other Tech they wanted from The Oracle other than Metal Casting. And thus, relying on Seafood turned out to be a bit of a disadvantage.
Early Feudalism
Theology requires Writing. So if one swept The Early Religions (or simply had the appropriate Technologies), failed to Research Writing, and Popped a Great Prophet, as one who is running a bunch of Priests in their Temples is likely to do, one can Bulb Monarchy... and do this in time to chose Feudalism as their Free Technology from The Oracle, granting one Longbows and assured (or at least, easy) Defence for the first Few Hundred Turns.
Without the need for Triremes, this is a much better gambit than Metal Working.
Logistical Tedium
Now, in The Late Game, I can see the fun in Island hopping. Eh, sure. Anything can get tedious. But I've not conducted this sort of campaign. And I might like it. Certainly, I enjoyed the Uncontested Island Expansion. But once it started to be contested, I lost interest. The Game was shaping into a Slug Fest, which I had minimal hopes of winning. Who knows? I might have. But I believe the AI was going to Out Micro me and mounting a defence was just going to get too boring.
Seafood Mother Load
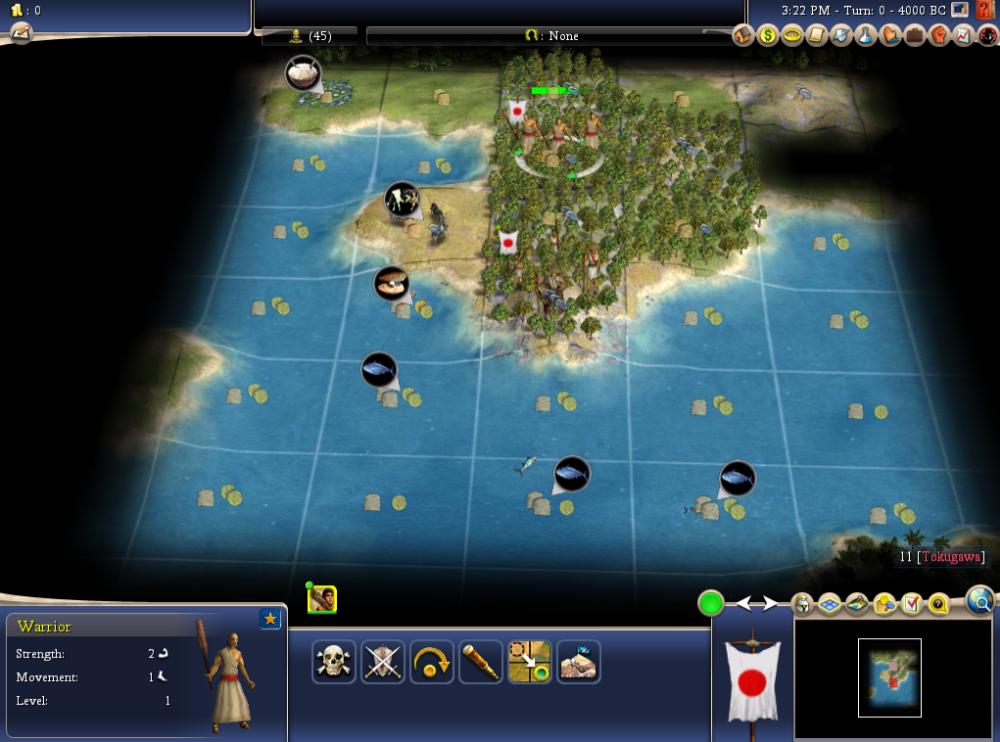
This is a Map Script made for Sid's Sushi. At T500 with Five Cities, I controlled 2 Rice, 2 Clam, and 7 Fish, which is a very nice start on Sid's Sushi. By the time Sid's Sushi is Founded, one could easily have (or be able to Trade for) 25-50 Seafood Resources, making the Founding of Sid's Sushi incredibly valuable.
Yes, Again!
In fact, due to the possibilities inherent in such an overpowered Sid's Sushi along with a desire to try my hand at a Late Game Island Hopping Campaign, I am going to retry This Map Script (but not This Map), using another Leader. I am thinking Ramesses II. But until I start Playing Turns, one never knows.
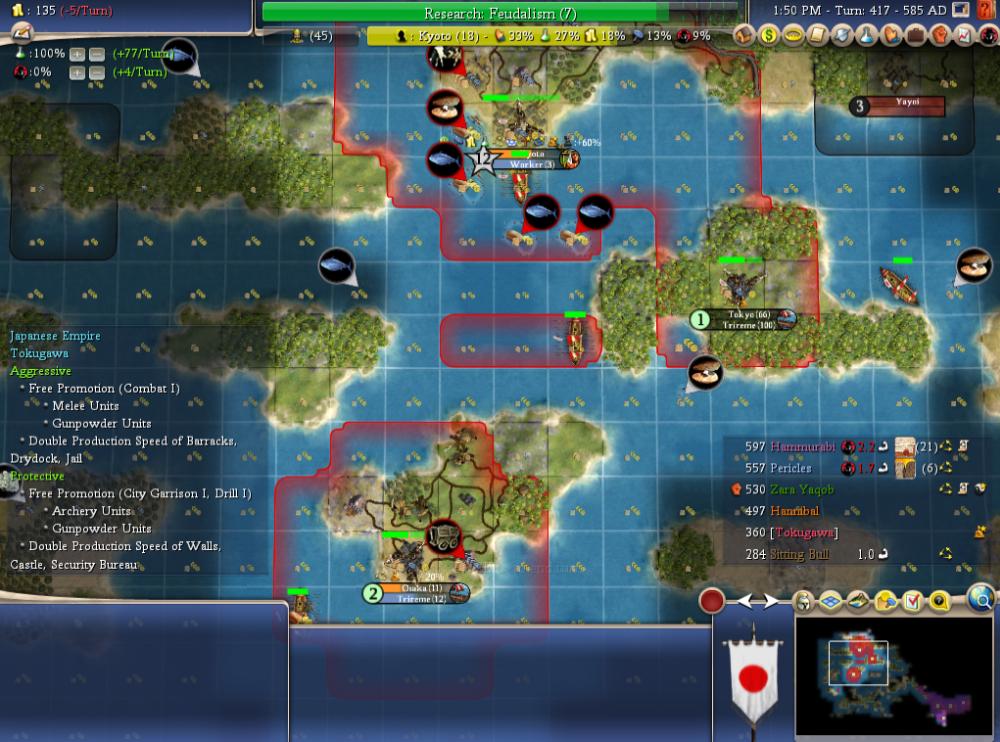
I find the Culture Control indicated by the above to be interesting. Newly Settled Cities have enabled Cultural Control of Sea Tiles, on which my Capital had been Exerting Culture for some time.
It's really nothing more than a Game Mechanic Oddity.
Also, if one looks at the Scoring, I'm far from winning. And despite numerous tries, I never really did much better.
