Brett's Games
Quad Gold
CIV IV
Beyond The Sword
Game Save File
003-quad-gold-4000BC
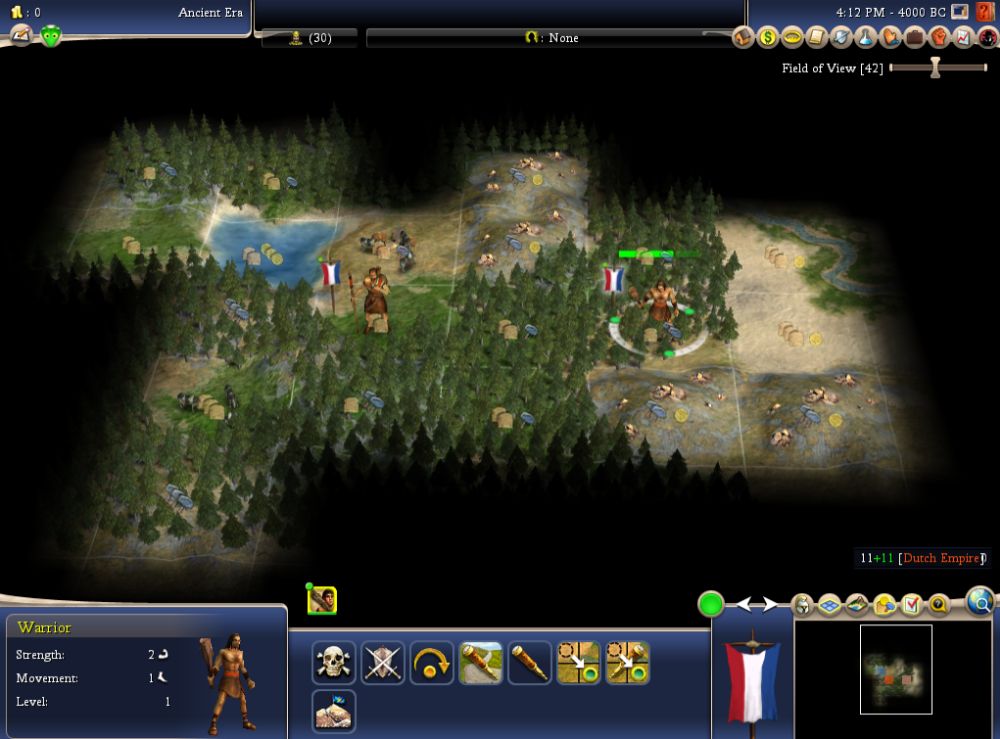
Prince
Dutch
William van Oranje
Custom Continents
Cylindrical
Large World Size
Temperate Climate
Medium Sea Level
18 Civilizations
Victory Conditions
Conquest
Domination
Diplomatic
Settings
Beyond the Sword 3.19
BUG Mod 4.5 [Build 2221]
BULL 1.4 [Build 243]
BAT Mod 4.1
Goal
I had intended to get better at my city specialization skills. But instead, I perfected my use of The Whip (the Conscription mechanic later in the game being similar).
Reasons
Oddly (or maybe not so oddly at this point), I had wanted a fun easy game coming back down to Noble after my first Monarch win. And having a four gold city seemed like just the ticket for that. Long story short, a reversal to Quad Cow supported by two gold would have been a lot (like a lot) more powerful.
Informal Rules
Must research Technologies in order. And then (for me, at least), I will take game breaks breaks between technological advances, so I think about the game more and feel less rushed. In other words, I have a desire to kill that one more turn compulsion by whatever means necessary.
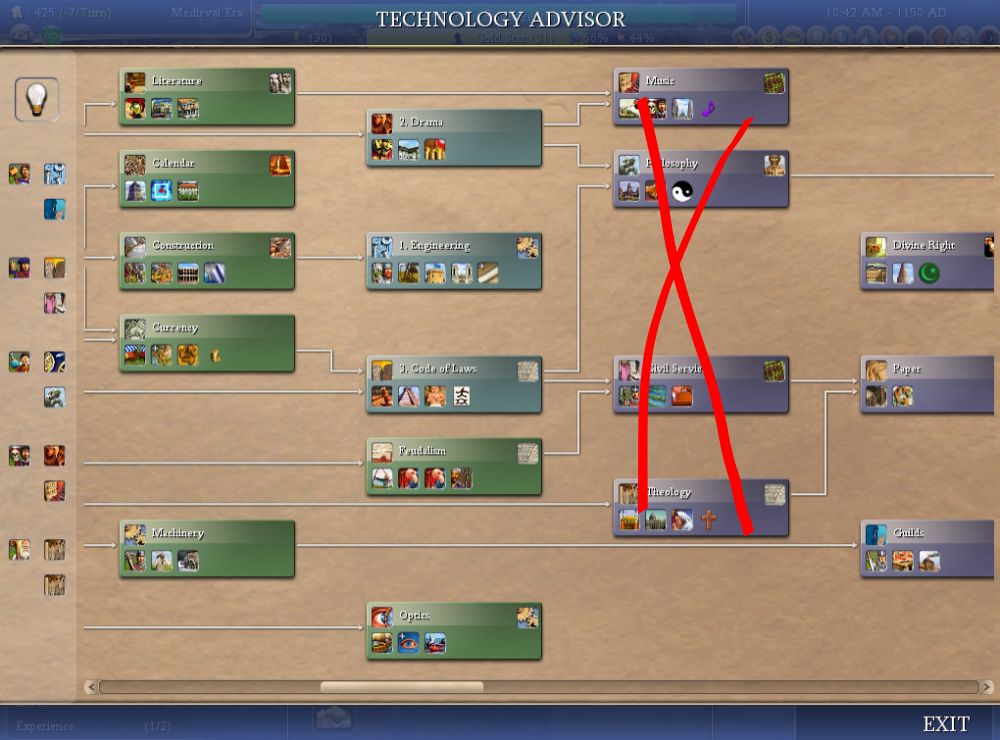
Or in other words, no Tech Bee Lining is allowed. Techs must be researched in order.
Strategies & Spoilers

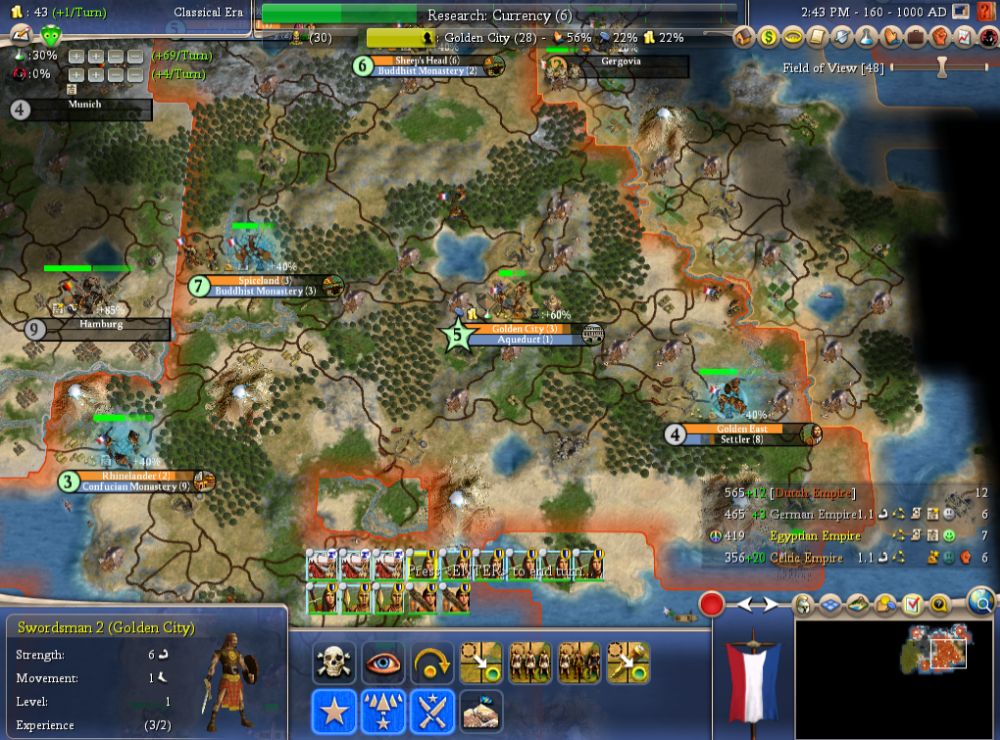
Hemming in my opponents (Brennus, in this case) mattered more.
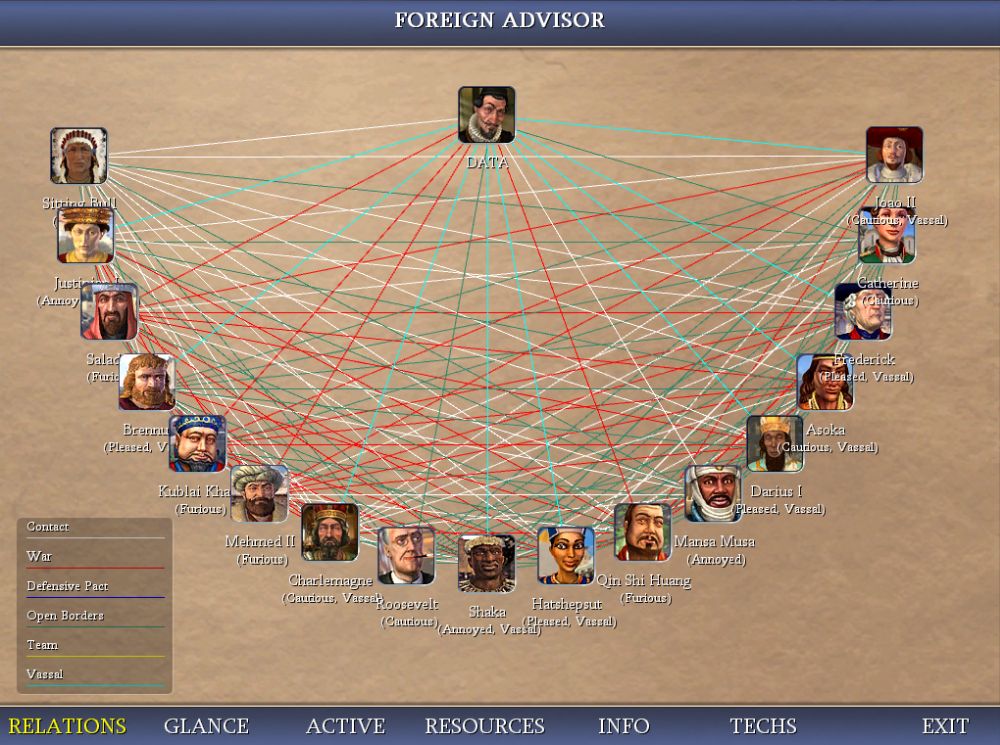
So, let me share the above Foreign Advisor Relations screen with you. About half the Civilizations in this game are my Vassals and I am stacking up the wars.
First, since I had way more power (number of troops, if nothing else) than the other Civilizations, it didn't really matter what I did, as there was no danger of a meaningful counter attack.
Second, I have found the other Civilizations do not want to make Peace or Capitulate unless we've been at war for over ten turns. Well, it doesn't take that long to take over a city. And most of my adversaries Capitulated after I took a single city (especially if that city was their capital). So, declaring war well in advance allowed them to surrender faster.
Third, back when warring was more difficult (against my first two opponents: Brennus and Frederick), declaring war slightly in advance of my need allowed these two jolly fellows to send their troops across the border into my territory. And thus, minimized any war weariness that is caused from fighting on foreign soil.
In short, I don't get much from a sneak attack, so I'm not bothering... at the moment. One never knows how these things will change with time.
Small Cities by the Sea
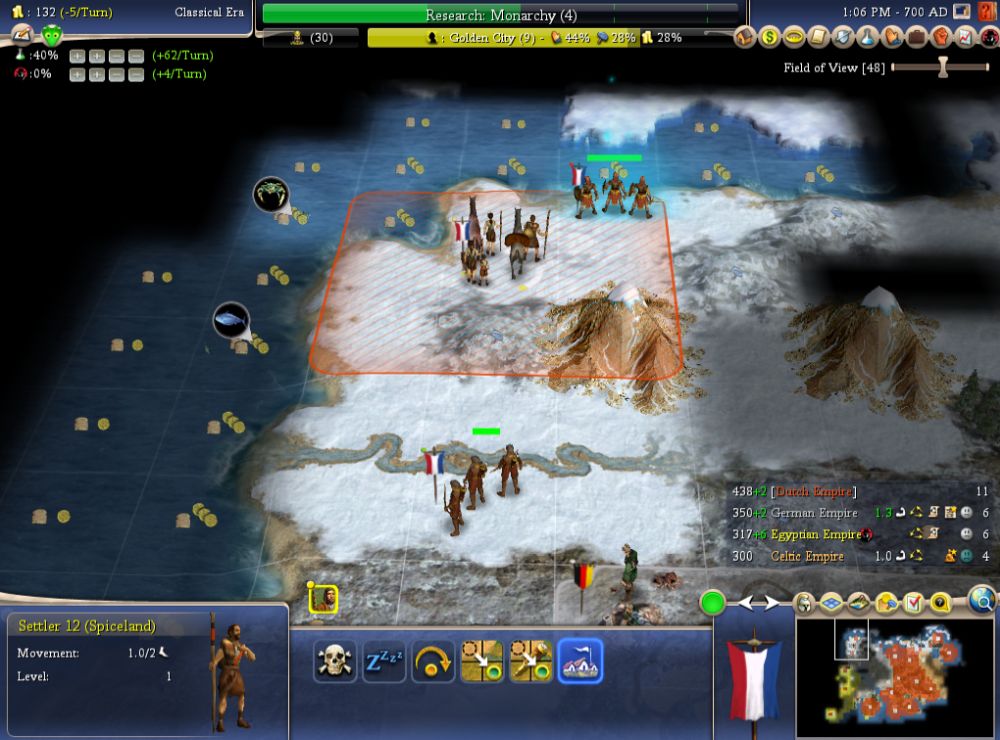
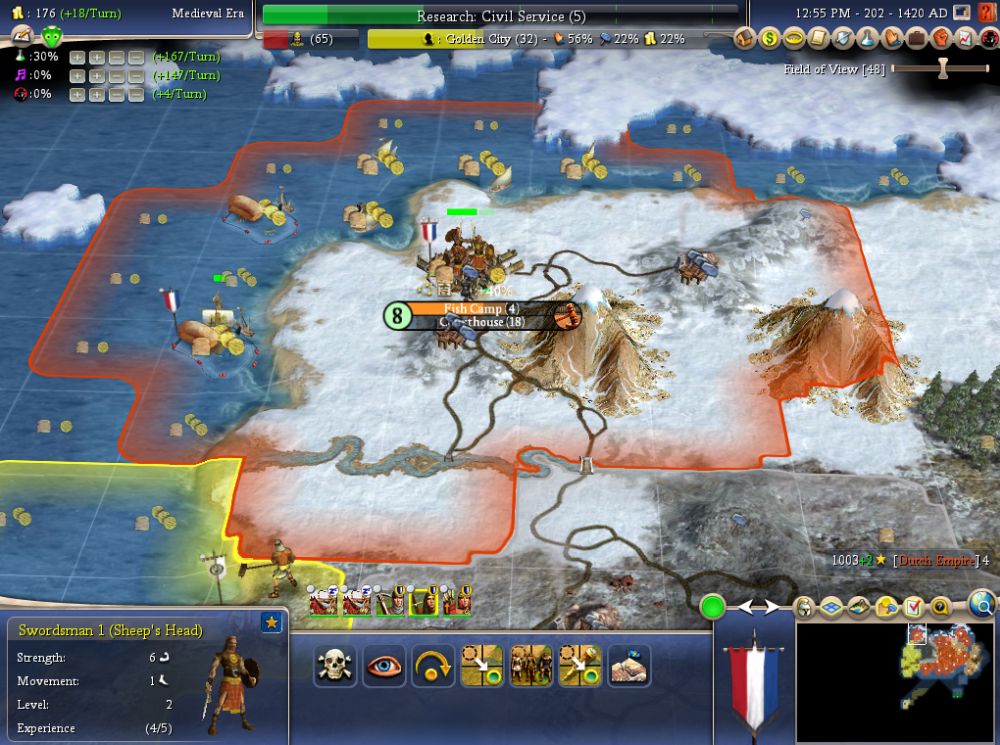
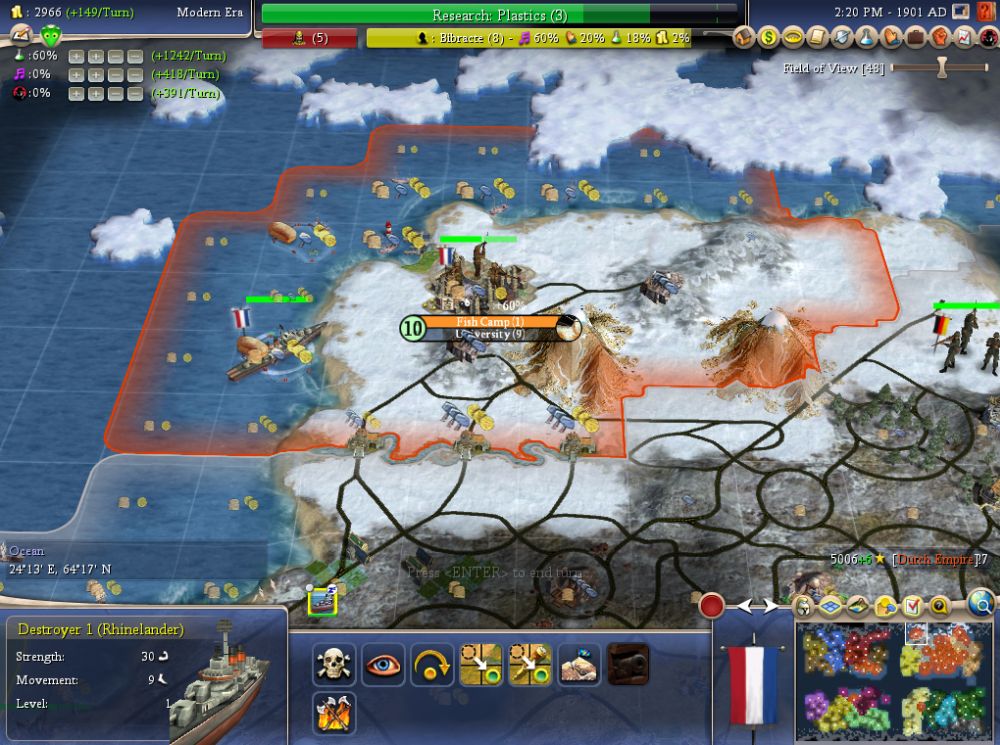
I call it the land-grab view, because one of the major reasons for settling such a city (in my so ever humble opinion) is ownership of the surrounding land tiles. Crap land is, after all, still land. And control of land is a key game play mechanic, which goes into scoring and determination of victory.
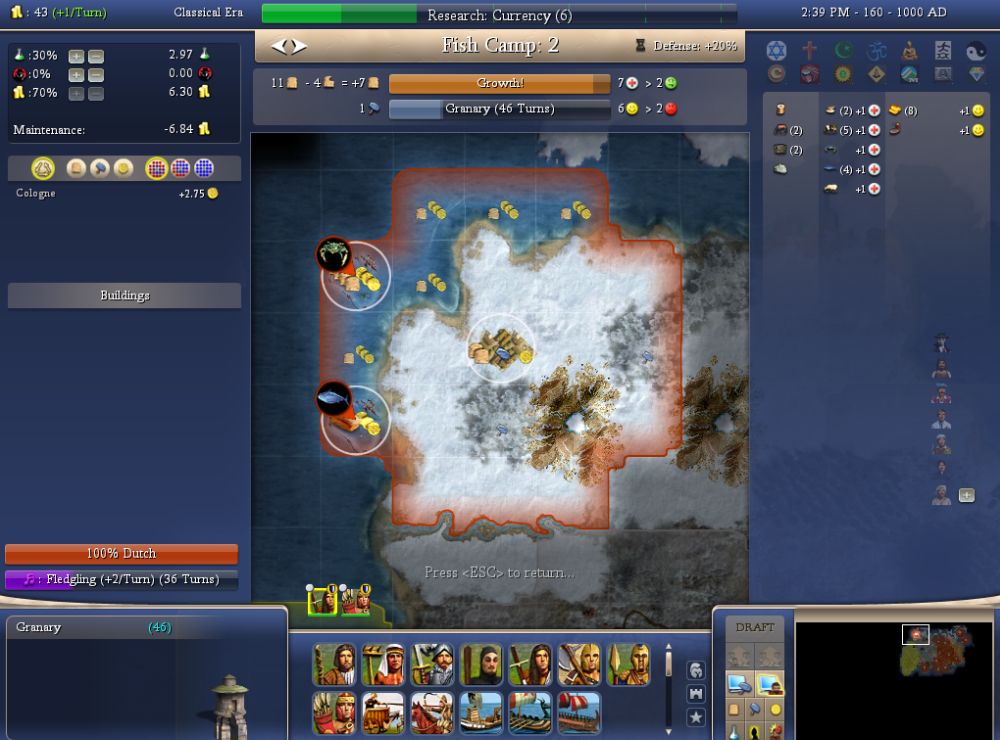
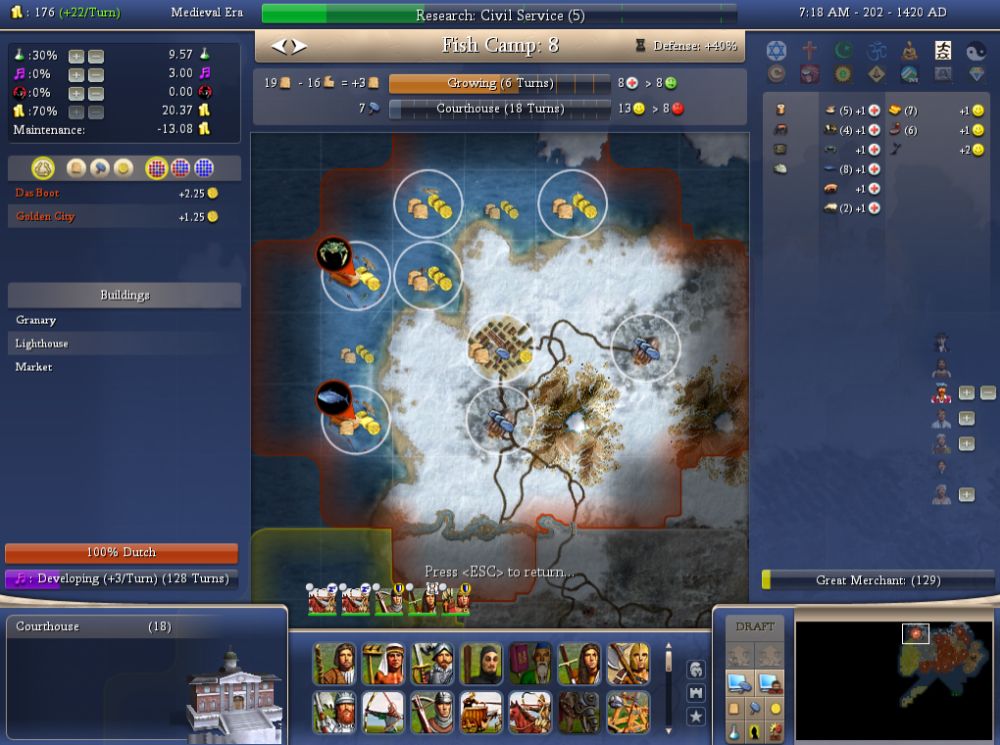
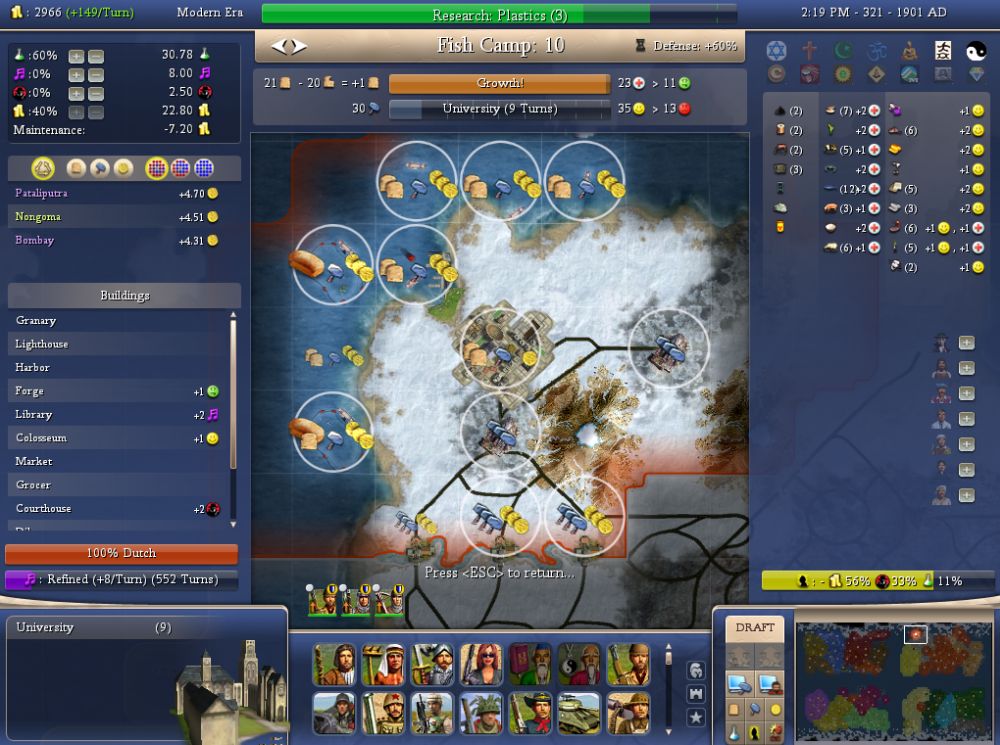
Also note (as I would have never done this), late game, my automated workers built watermills on the river, which are pretty nice plots, better than the mines. So in hindsight, I may have been better off building this city one square to the south-west (and thus, capturing both sides of the river).
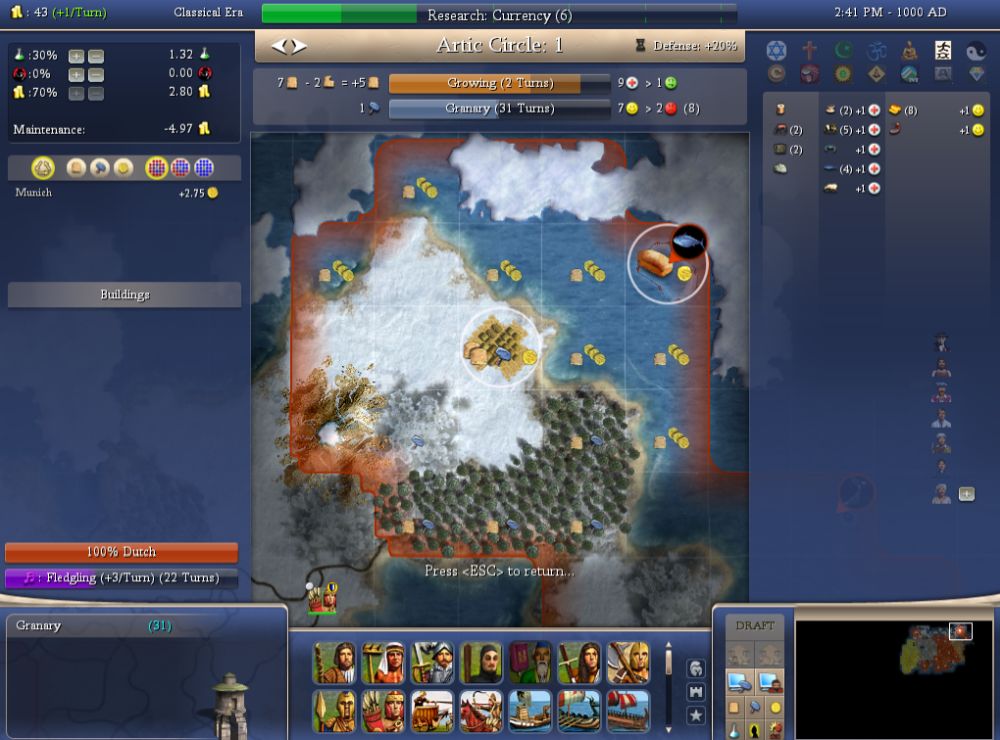
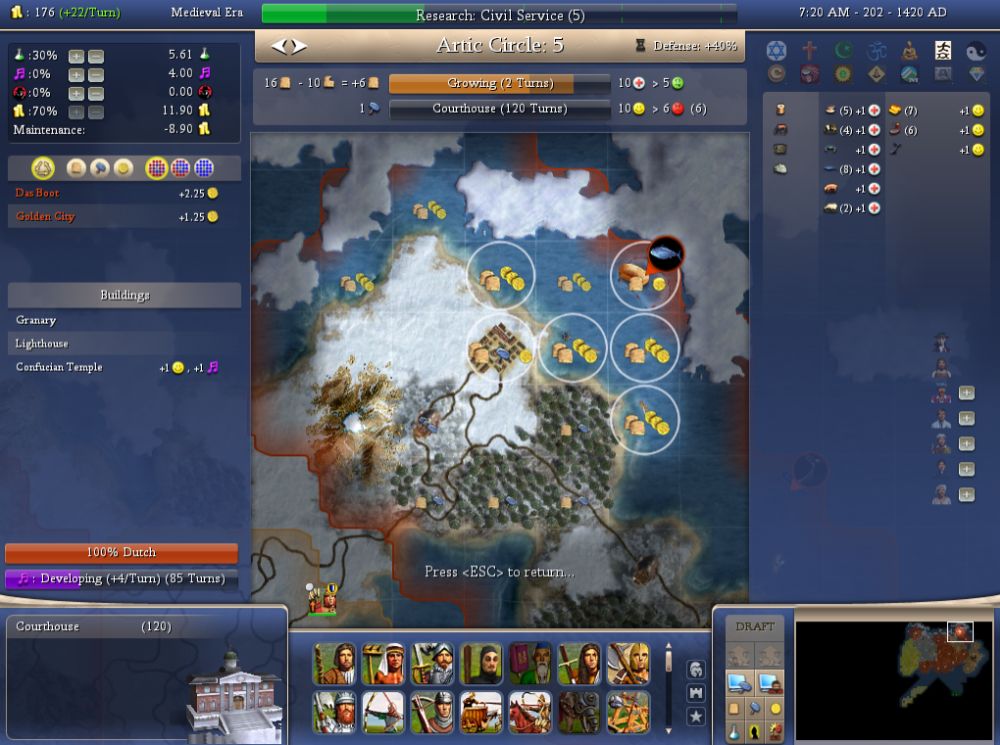
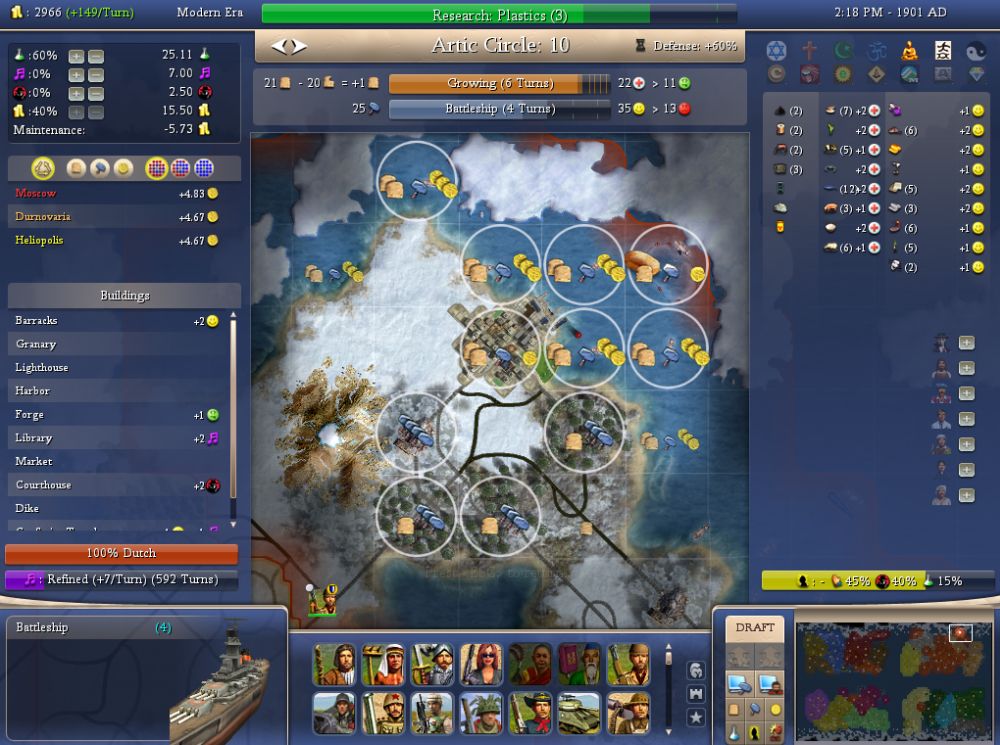
But beyond commerce, these cities also produce stuff. And even without the Dyke or Maori Statues (both discussed below), whipping and conscription (discussed even further below) allow this type of city to produce an adequate supply of military units.
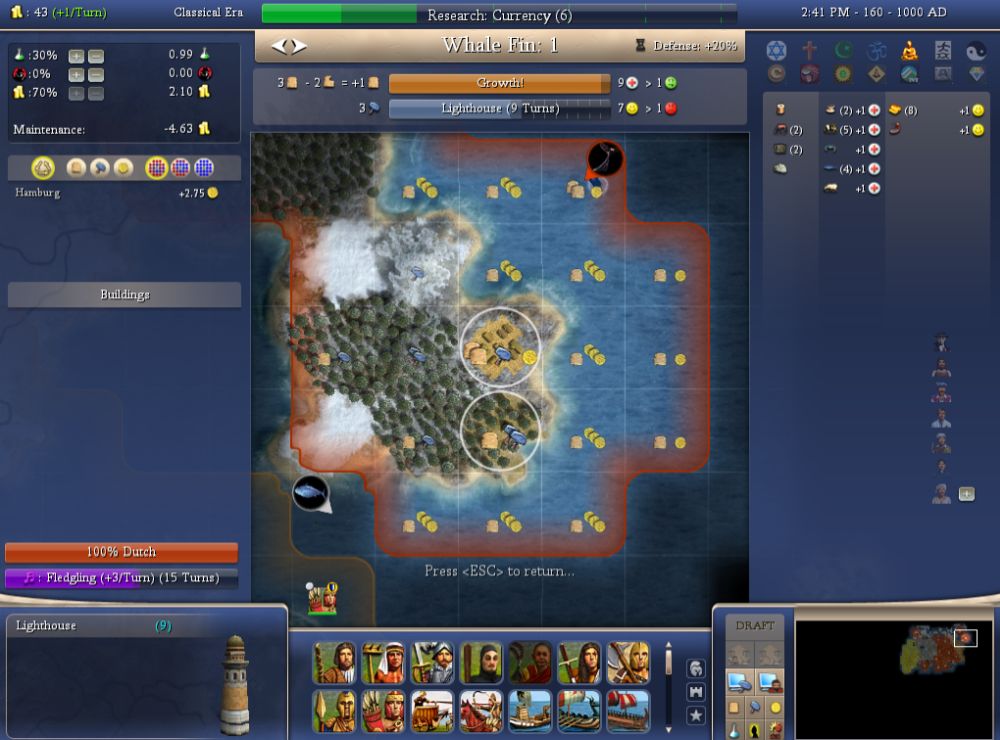
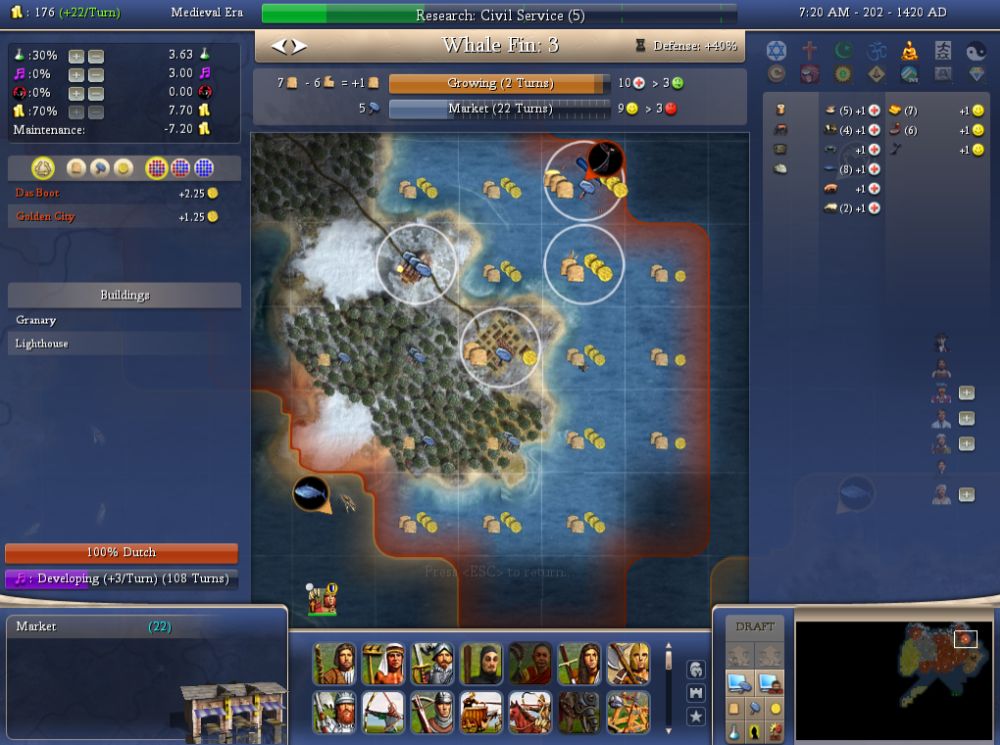
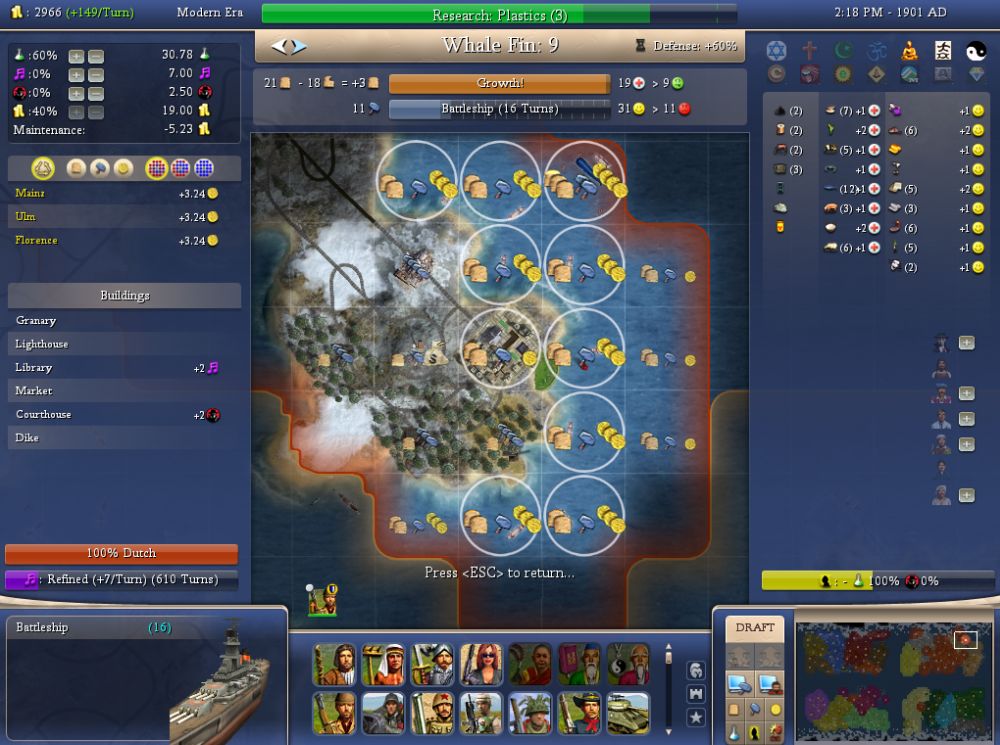
Preferably, by a river, those Water Wheels are nice.
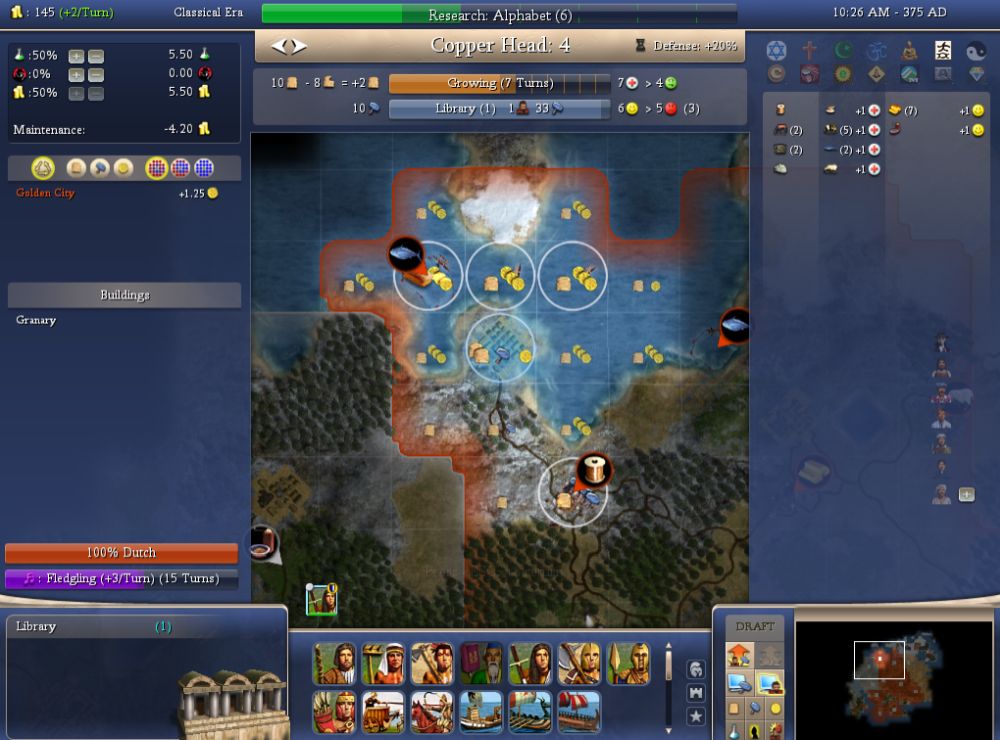
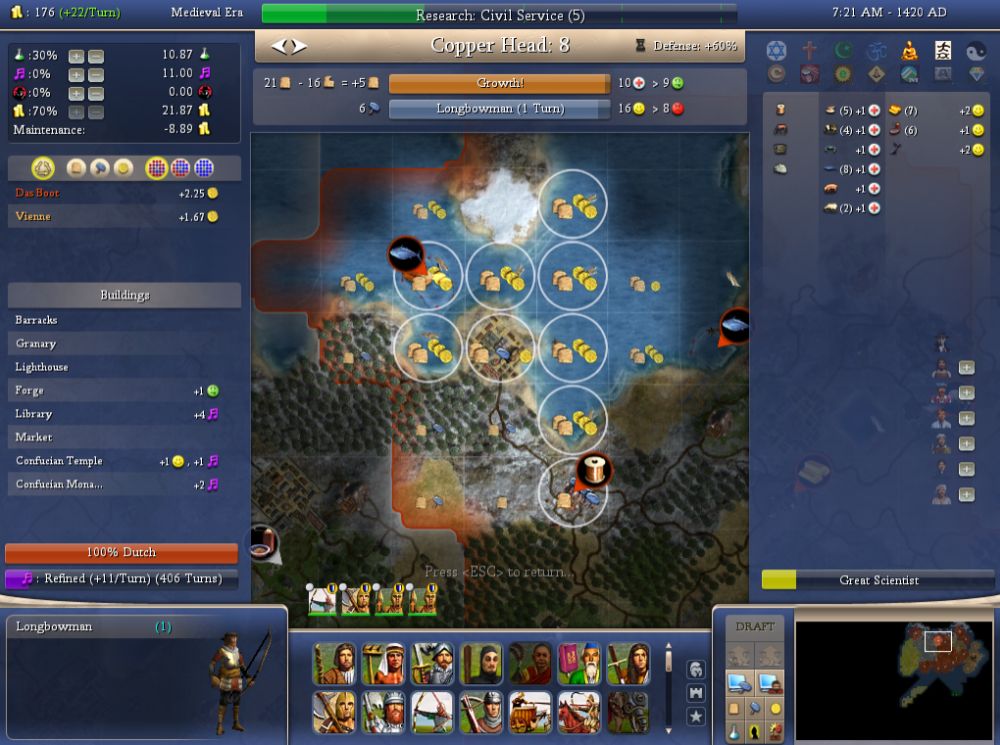
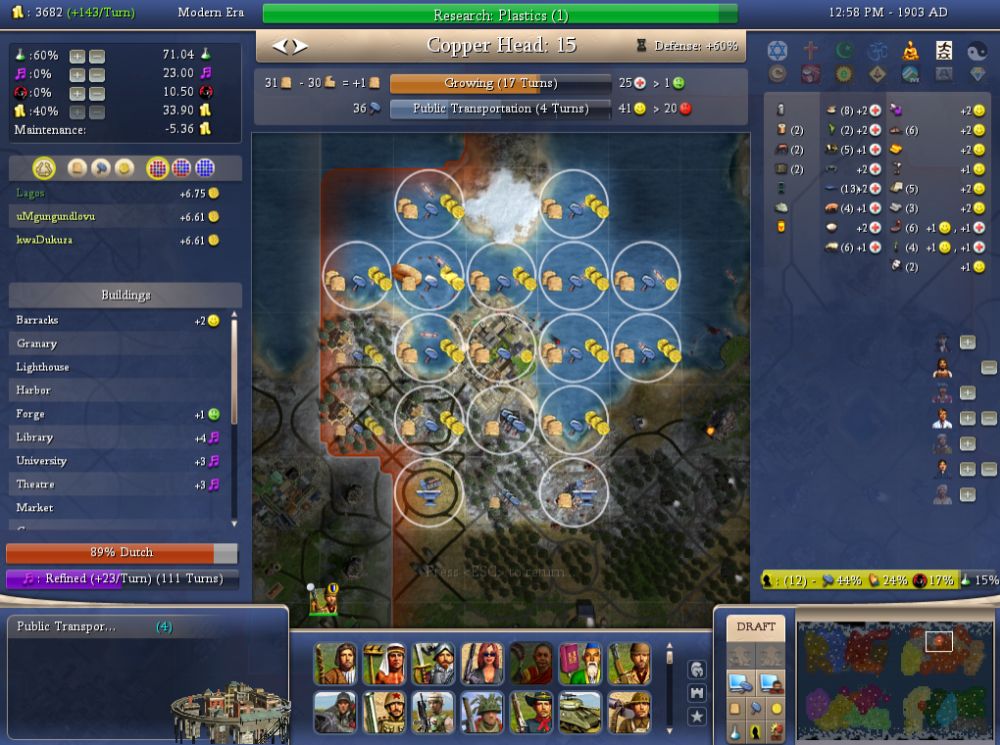
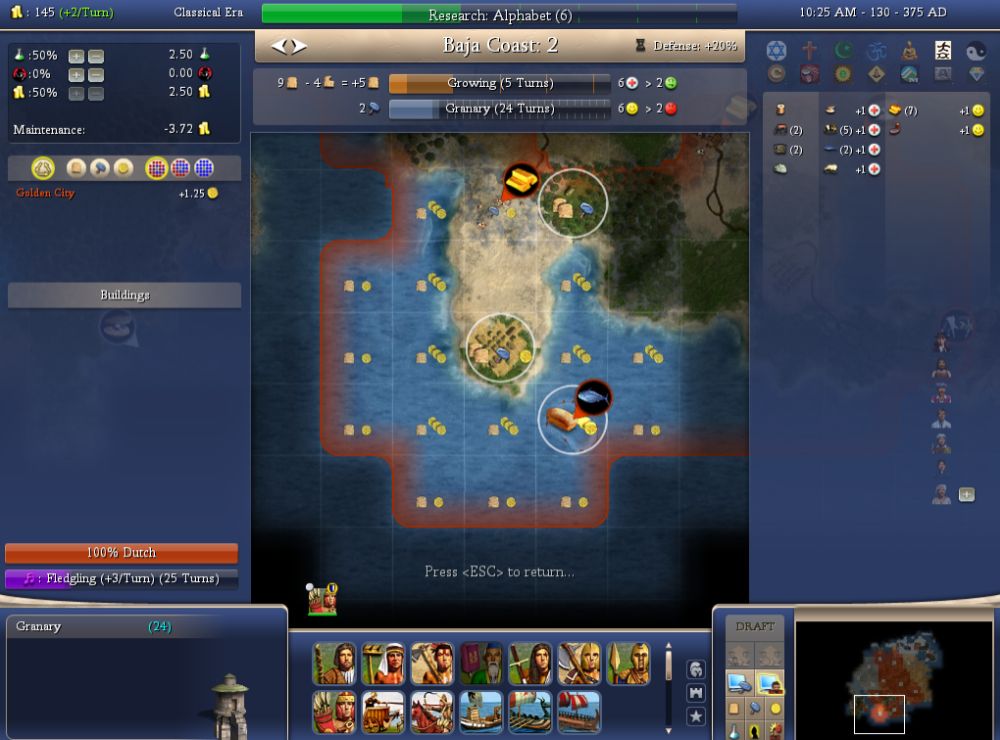
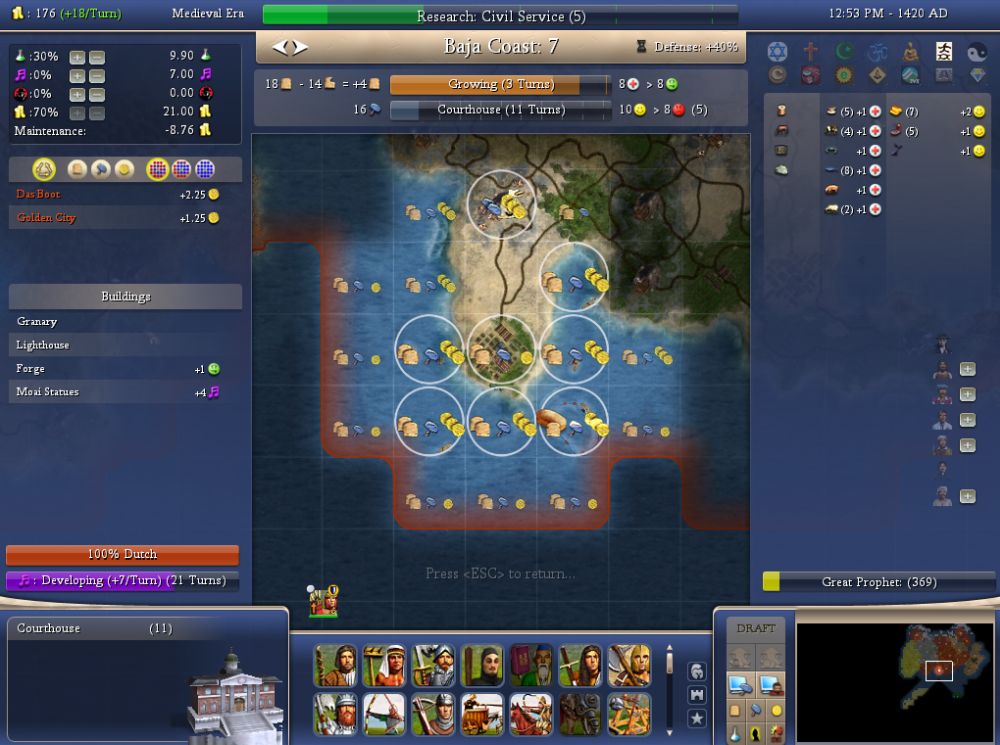
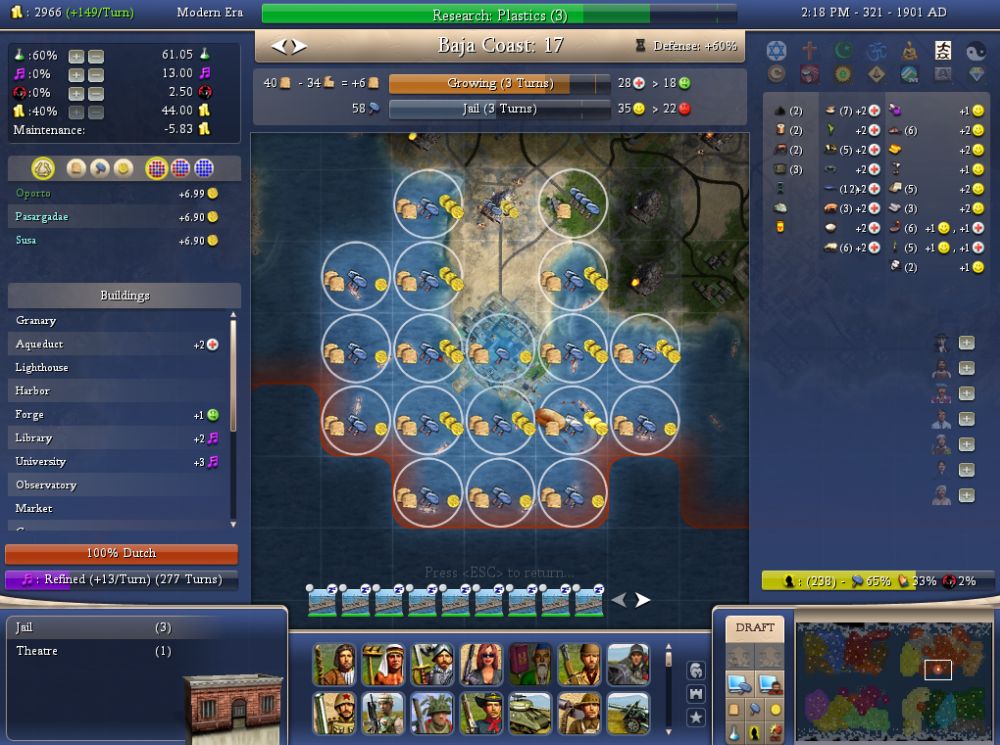
17 ocean tiles x 2 hammers each = 34 hammers, just from the ocean.
Not bad.
Spare the Whip
Spoil the City
The Whip Explained
It took me a long time to understand the mechanics of slavery. But it's not that hard. And now that I do understand it, I'm not quite sure why it took so long to wrap my mind around the concept in the first place.The first whip in a city costs a variable amount of population (usually, one, two, or three, and I think one gets 30 hammers per population, but clearly not an important point to me) and causes +1 unhappiness for 10 turns.
And that last (the unhappiness) is the important thing to remember, the whip causes:
+1 unhappiness for +10 turnsAnd if the current unhappiness from whipping (conscription, and events, I think they all use the same unhappiness counter) is zero, the calculation is simple enough: +1 for 10.
On the other hand, if it has only been five turns since the whip was used, a city will be currently at +1 for 5, and the new unhappiness must be added to that.
Existing:  +1 for  5
This Whip: +1 for 10
New Anger: +2 for 15
Five more turns was added to the existing value. So if one whips again in two turns, the new unhappiness is +3 for 23 turns (and it's a full +3 unhappiness for all of those 23 turns).
Existing:  +2 for 13
This Whip: +1 for 10
New Anger: +3 for 23
Thus, unhappiness can quickly get out of hand. The trick (and this is the whole of the trick) is to never whip, while suffering unhappiness caused by the whip.
And I'm no expert on Conscription, but I believe it works on the exact same mechanic with the numbers only slightly different: costs two population for +3 unhappiness for 10 turns (probably with different population costs depending upon the unit, but I know not).
But by the time one can Conscript, my cities are usually pretty happy, so it doesn't matter as much.
Anyhow, that's what I know about Slavery and Whipping. But I plan on playing Montezuma next (the Wizard of the Whip), so I may have some updated info in my next post.
The Walk Through
I played this map three times.
Quad Gold: Game One
Here is the save from the first game.Initial Save
003-quad-gold-4000BC
Final Turn (Game One)
003-quad-gold-game-one- AD-1595
All the initial saves are the same in the Quad Gold Series, so I will not repeat them from play-through to play-through.
And though it's been a while, as I recall, I was killing it on the first game and victory was a certainty, so I decided to quit. One thing is for sure, the next (non Quad Gold) game I played was on monarch.
Quad Gold: Game Two
While playing the Quad Gold map a second time, I lost heart.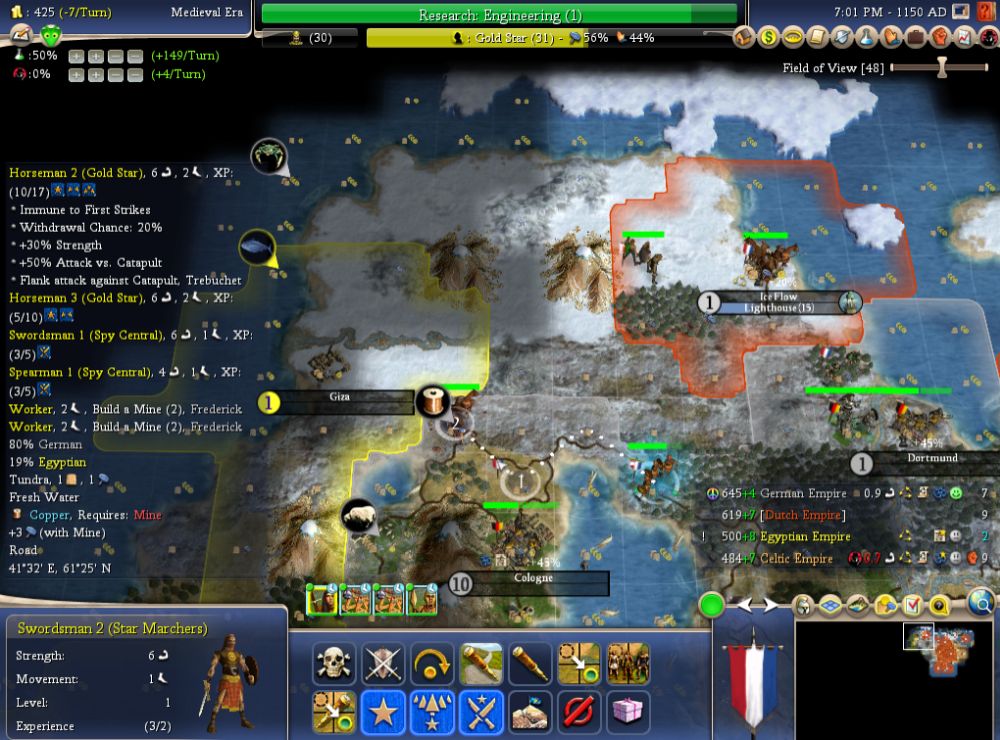
And the question is: Is the Egyptian city of Giza worth fighting a war over?
Probably not.
I mean, sure, why not?
But then, since that's the type of spoils I was looking to capture, it was clear my mind was in the wrong place.
So, I replayed the map again (for a third time) with the aim of REX'ing (playing the rapid early expansion phase) better.
Final Game State (Game Two)
003-quad-gold-game-two-AD-1150
LogFile (Game Two)
This is the log file from BAT's (or is it BUG's) auto-log feature. One of the things I want to do (long term) is pull game average statistics from my games (when are the Pyramids typically built, when is Liberalism typically discovered, and so on). Thus, these files may be of interest to another for similar (or divergent) reasons.
003-quad-gold-game-two-log
Game Notes
So if you really want a detailed play-by-play walk through, this is it. There are no pictures, however.
003-quad-gold-game-two-notes
Quad Gold: Game Three
The third time is the charm. This was a game to be proud of.Final Game State
Domination Victory
50,000 odd points
003-quad-gold-game-three-AD-1907
Auto Log
003-quad-gold-game-three-log
Game Notes
003-quad-gold-game-three-notes
Finally, the Replay, which I may stop including, as I believe all information may be included in the final save.
Post Game Replay
003-quad-gold-replay
And that's that!
Thus, next up: