Brett Code
Circle Fill

What do we want?
Circles filling the page!
When do we want it?
The better part of a year ago!
Circles filling the page!
When do we want it?
The better part of a year ago!
My fingers have not spent that much time dancing across a keyboard these past twelve months... or at least in that time, I have not coded as much as I had the year before.
I started this project a year ago, quit, forgot about it completely, and only came back to it as I was 'cleaning up' my code repository, which for the most meant refactoring almost everything I had ever written.
Yes, it is true, the time-machine that is my code repository is full of crap.
I started this project a year ago, quit, forgot about it completely, and only came back to it as I was 'cleaning up' my code repository, which for the most meant refactoring almost everything I had ever written.
Yes, it is true, the time-machine that is my code repository is full of crap.
The State of Being


First, get something to the screen.

Then, trick it out.
The first two images are rather straight forward (and are from a year ago): circles with a gradient. I improved my gradient technique in the second go round. But the initial implementation would have sufficed (and I likely would have never had the need to revisit this) had the placement algorithm worked correctly: I reference the second image with multiple white circles on a black background here.
Any-the-way, this is where I stopped, took a year off, read a year's worth of Supreme Court opinions, studied a bit of Abstract Algebra & Category Theory (clearly, I have no problem tooting my own horn), and even went so far as to read every last Python PEP (only now moving on to the raw source code).
But as to actual coding, no I didn't do much.
Oh, I also managed to read the numpy documentation (well, a lot of it). And so, when it was time to get back to work on this little project, I'd learned enough in the interim to know that I could scrap most of what I'd previously done. Well, actually, that's not true. I used it as a go by... of sorts.
Placement Algorithm

1) Find biggest hole (empty space, zeroes) in array.
2) Place largest possible circle (ones) in centre of hole.
3) Rinse and repeat.
Any-the-way, this is where I stopped, took a year off, read a year's worth of Supreme Court opinions, studied a bit of Abstract Algebra & Category Theory (clearly, I have no problem tooting my own horn), and even went so far as to read every last Python PEP (only now moving on to the raw source code).
But as to actual coding, no I didn't do much.
Oh, I also managed to read the numpy documentation (well, a lot of it). And so, when it was time to get back to work on this little project, I'd learned enough in the interim to know that I could scrap most of what I'd previously done. Well, actually, that's not true. I used it as a go by... of sorts.
Fade to Black


Having fun with integer overflow.
The circles in my original project (form a year ago) were greyscale, but I wanted to use RGB colour, because it looks cooler. This caused integer overflow problems during the conversion. But as that is one of my favourite visual effects, I recognized the cause of the problem right away.
Oh, and if you're wondering what the point of this section is... um, didn't I say? Integer overflow: I've encountered it a lot (like a lot) in my imaging work. The above is what it looks like (more to follow further down the page).
Oh, and if you're wondering what the point of this section is... um, didn't I say? Integer overflow: I've encountered it a lot (like a lot) in my imaging work. The above is what it looks like (more to follow further down the page).
Integer Overflow

0
1
2
...
254
255
0
1
2
...
254
255
0
1
np.uint8 as the dtype) and you might have the right idea.


From zero to one, filling the screen.
This was one of those nice insights that I am sure will pay off in the long run. Originally, I had created the circle and then custom fit the gradient into the circle. But the easy solution (and therefore, the better solution) was to create a full screen gradient (this can always be done in a temporary array); cut a circle out of that (by using a circle mask to zero out all the other values that aren't part of the circle); and finally, normalize the result (by which I mean, stretching all values from 0->1.0 or 0->255, as the case may be).
Then, before calling it a day, settling in for a beer, maybe another viewing of Pride & Prejudice, and/or going for a walk to view the sunset, it might be a good idea to ensure I can place that gradient wherever I want.
Then, before calling it a day, settling in for a beer, maybe another viewing of Pride & Prejudice, and/or going for a walk to view the sunset, it might be a good idea to ensure I can place that gradient wherever I want.

OK! Well, now I need that beer!
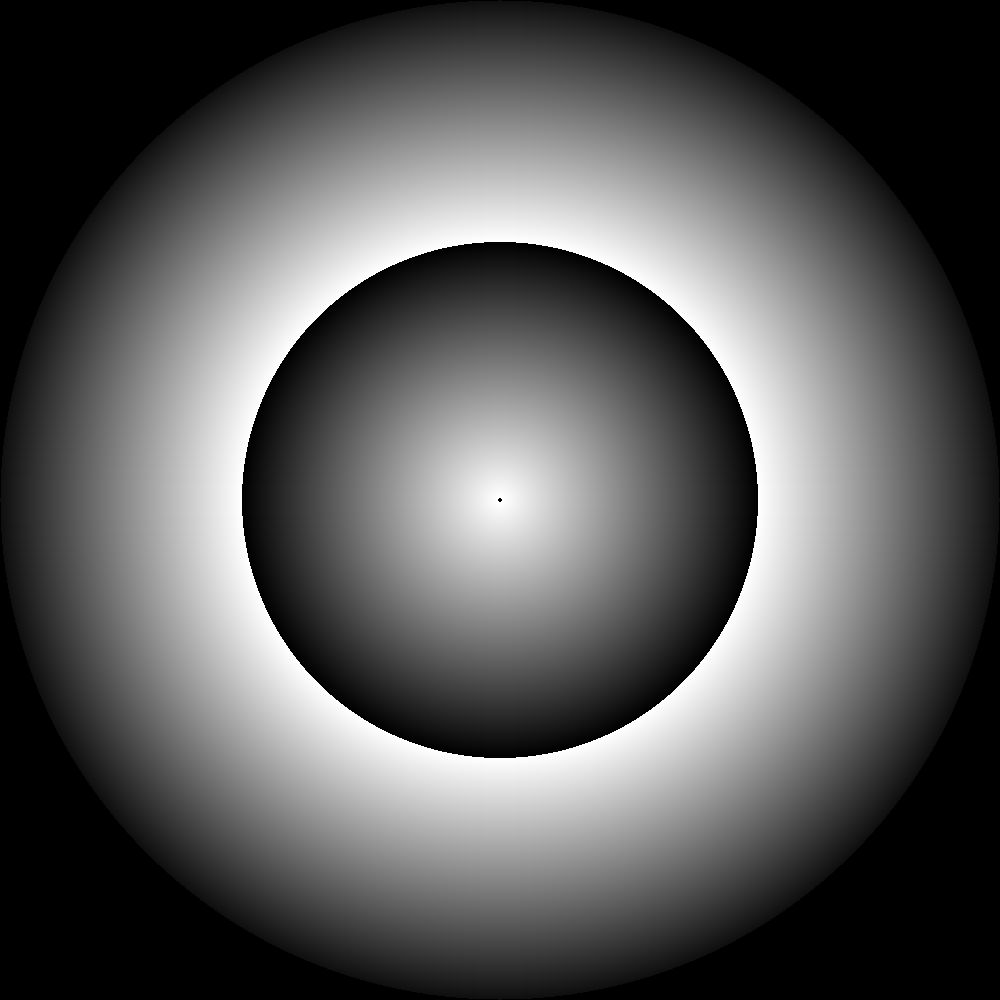
The integer overflow, I was expecting, as that was baked in (as in, I put it there so I could better 'see' the gradient). That flattening at the bottom. Well, that's not what I would call an even gradient. Would you?
Huh! Answer me punk!
Huh! Answer me punk!
Smoothing the Circle


My best effects are all accidents.
My best jokes always come on the rewrite.
OK. Fine. It's a lie. But one of those lies that's close enough to the truth that it does not warrant further deconstruction.
My best jokes always come on the rewrite.
OK. Fine. It's a lie. But one of those lies that's close enough to the truth that it does not warrant further deconstruction.
See, perfect control of the placement of the gradient. Too bad the gradient isn't even.

I like this effect.


Just try doing the one on the left on purpose.
To compute the distance (and hence, the fade -- and therefore the integer overflow) from 'centre', I centred a horizontal and vertical line (by creating a numpy
But that bug (and/or cool effect) wasn't so hard to sniff out, as it obviously had to do with the distance measurement in some way.
Hmm? Let me see? It's probably not
Happy Days!
np.linespace of each) across the desired coordinates (so zero was at the desired centre), computed the distance from these hypothetical coordinates (using np.hypot, and placed the final result in a two dimensional array, which represented the gradient.
def gradient(self, x=0, y=0, size=None):
    '''Returns a greyscale gradient

    Fast enough, reducing size is unimportant

        x: x coordinate (left, right) of center
        y: y coordinate (top, bottom) of center
    '''

    size = size if size else self.size
    x_axis = np.linspace(
        start=(-x), stop=(size - x), num=size, dtype=np.float64)
    y_axis = np.linspace(
        start=(-y), stop=(size - y), num=size, dtype=np.float64)

    img = []
    for y in y_axis:
        img.append(np.hypot(x_axis, y))
    img = np.vstack(img)

    img = self.stretch(img)

    return img
image = image file on disk (png, jpg, etc.)
img = np.array convertible to an image file
self's should indicate that this method is part of a class). Anyway, self.stretch() is a home-brewed normalizing function (img range is restricted from 0.0 to 1.0) and the 'eye', which is what I call the funky effect, came about from trying to use a ready made. So, you know, serves me right.But that bug (and/or cool effect) wasn't so hard to sniff out, as it obviously had to do with the distance measurement in some way.
Hmm? Let me see? It's probably not
np.hypo, because those folks at numpy are pretty smart. So, maybe it's that other part that I'm not familiar with, which it was.Happy Days!
Tripping the Light Fantastic


Edge - Fade - Solid
This is the circle/gradient tester sequence.
These images look as I intended.
Ergo Sum: Success!
Most of my programs are so experimental, I almost never know what the final product is going to look like: only a rough idea, with the yardstick being did I come close enough... after taking the design changes I invariable make along the way into account.
Thus, I find 'Test Driven Development' to be unhelpful. When the destination is unknown, it's hard to say when we've gotten there.
That bit of self-doubt out of the way, this functionality is encapsulated in my imaging library; so from now on, I should be able to add circles and gradients to any image in the blink of an eye. Strange in a way, how long it has taken me to get this far in encapsulating my imaging work.
But then, I suppose the explanation for that has something to do with that whole 'lack of a goal' thingie.
Closing the Circle


So, what were we working on again?
Having my circle generator in-place (clearly, I shall not bore you with the details), all I needed to do was fill the image (or numpy array, as the case may be) with the largest possible circle.
I used Scipy's
If that's not overly clear, not to worry (he said sarcastically), as the code isn't much clearer.
Thus (and instead), I'll merely recap what I just said. 'I used Scipy's
If you'll note, the circles overlap. I did not want the circles to overlap.
I used Scipy's
binary_erosion for the heavy lifting, counting the number of iterations it took to fully erode the inverse of the image (I changed the image from black to white; and then, eroded the white to black: i.e. the ones to zeroes), calling the number of iterations (minus 1) the radius of the circle, and placing the next circle at any space that was still coloured at the next to last iterative step (so, margin of error was supposed to be a single pixel, as some circles have up to four centre pixes; and then, as a slightly separate point, often, multiple blank spaces would be equally valid locations for the next circle -- say in the four corners after the first centre circle was placed).If that's not overly clear, not to worry (he said sarcastically), as the code isn't much clearer.
Thus (and instead), I'll merely recap what I just said. 'I used Scipy's
binary_erosion to find the centre and counted the number of steps it took me to erase everything.'If you'll note, the circles overlap. I did not want the circles to overlap.
Circling the Square

The Problem: Overlapping circles.


The Solution: Stop it!
So, I took a detour here to add arbitrary grid functionality to my imaging system (something I likely should have done a long time ago), because I had a hunch the problem was in measuring diagonal distance, which it was (or close enough).
Once, I knew the problem. I found the error in my code in a couple of minutes.
HINT: by counting the amount of
Of course, this would not have made any difference if my distance checker function worked, but we need not get into that troublesome detail (
Bottom line, after I knew conclusively where the problem lie, it took me about ten minutes to resolve the issue, maybe less.
But seriously, isn't it odd how I needed to 'know conclusively' (by implementing grid functionality no less) where the problem was, before my mind was able to focus on the solution.
Anyway, from there, it was just a matter of running the main program again.
Once, I knew the problem. I found the error in my code in a couple of minutes.
HINT: by counting the amount of
binary_erosion it took to clear an area, I was counting the maximum distance in any direction (actually, I don't know if this is true and it probably is not, what is true is that it was not counting the minimum distance, which is what I needed).Of course, this would not have made any difference if my distance checker function worked, but we need not get into that troublesome detail (
binary_erosion finds centre, nearest_neighbor from centre finds radius -- this later being a home-brew).Bottom line, after I knew conclusively where the problem lie, it took me about ten minutes to resolve the issue, maybe less.
But seriously, isn't it odd how I needed to 'know conclusively' (by implementing grid functionality no less) where the problem was, before my mind was able to focus on the solution.
Anyway, from there, it was just a matter of running the main program again.
Coming Full Circle
Walla!
It's not a perfect implementation, but it's close enough for me.
The circles at the corners should extend all the way to the edge of the image, which means the shape of the empty space is having an effect (i.e. I am eroding from the edge, not filling from the centre, so even this close to the solution, I am way off).
Still, considering I originally called this project Island, as I wanted to put together a procedural island landscape generator, I've delved into repeating circles for long enough now.
Join me next time when I decide to take a year off to enjoy my 'retirement'... and write a mystery novel instead.
Oh, Nikolai!
a.k.a.
Die! Die! Die!
coming someday(?)
to a website near you.
The circles at the corners should extend all the way to the edge of the image, which means the shape of the empty space is having an effect (i.e. I am eroding from the edge, not filling from the centre, so even this close to the solution, I am way off).
Still, considering I originally called this project Island, as I wanted to put together a procedural island landscape generator, I've delved into repeating circles for long enough now.
Join me next time when I decide to take a year off to enjoy my 'retirement'... and write a mystery novel instead.
a.k.a.
Die! Die! Die!
coming someday(?)
to a website near you.
Interesting in more like this?
Of course, you are!
Brett Code
for programming and the like
www.paufler.net
for my home page
with links to writing
and everything else
© copyright 2017 Brett Paufler
paufler.net@gmail.com