Vision Quest
Stripe Test
Color Gradient Image Manipulation in Python Using Numpy
Greyscale images vary in color from 0.00 to 1.00.
Sounds like someone is trying to limit our creativity!
But are we going to let them get away with that?
Heck, no!
This page illustrates one way of abusing that property to get cool effects.
As follows are the 'cool' effects in question.
Individual feeling of awe and wonder may vary.
If you feel slightly dizzy from the majesty of it all, please do not be alarmed. This is normal.
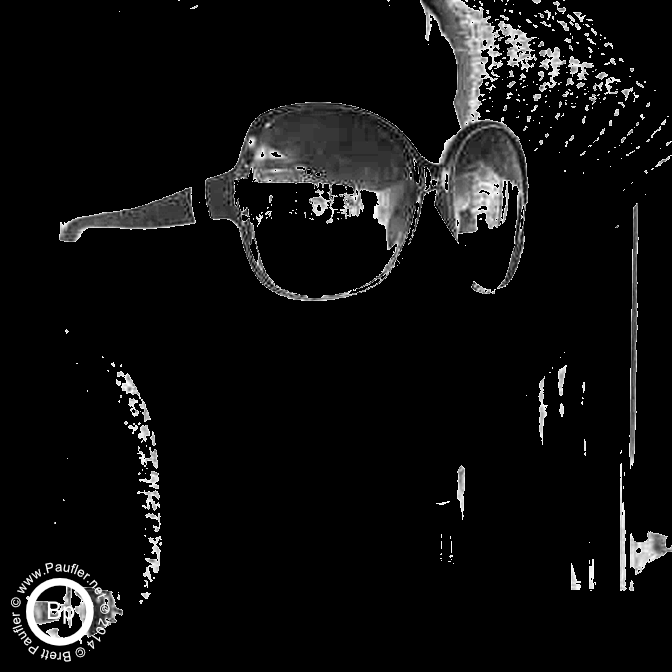
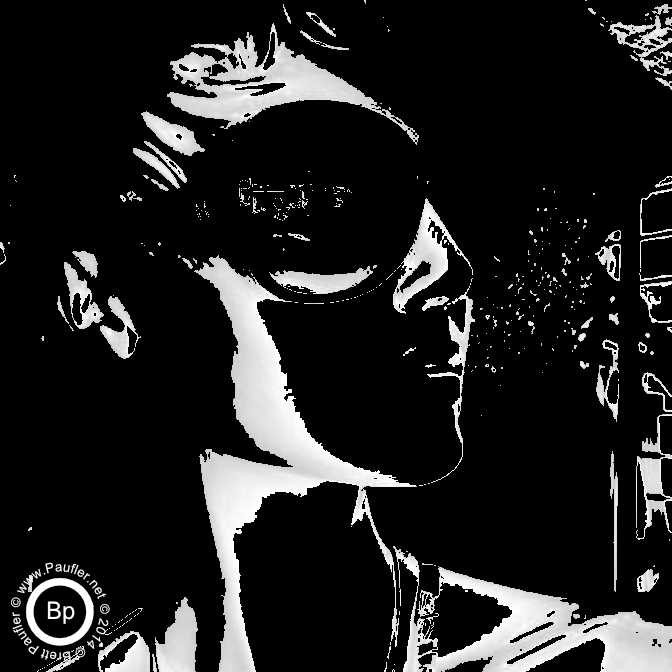
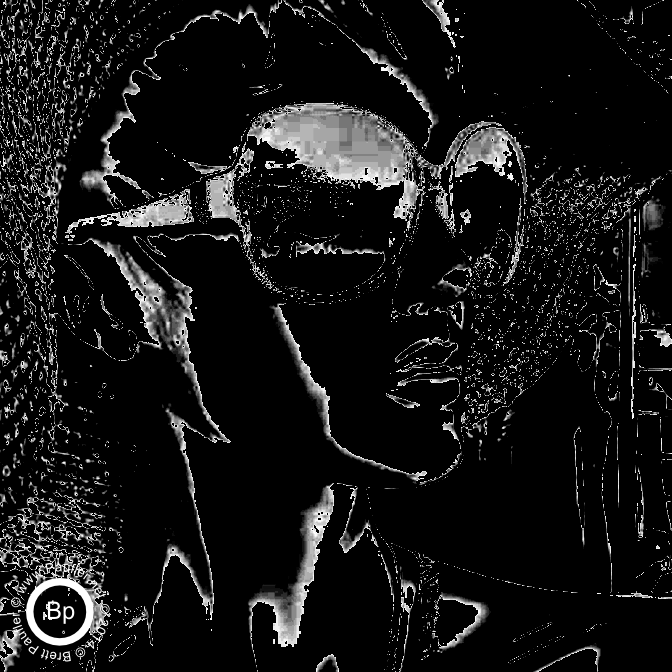
eN=1, qS=8, qN=1-8
qN=1-8 combined into a gif for demonstration purposes.
eN is the only number that changes in the samples below.
Don't worry if the parameters make no sense at this time.
I haven't actually explained what they mean, yet.
All the same, the above picture is for eN=1.
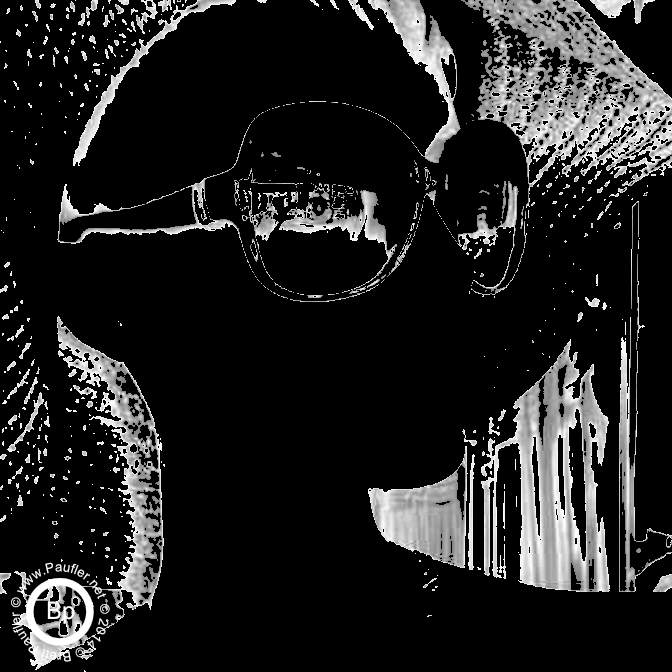
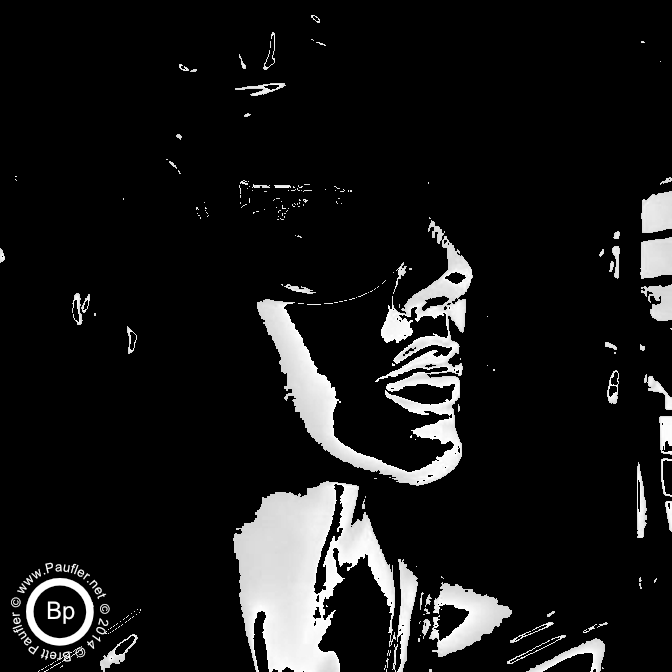
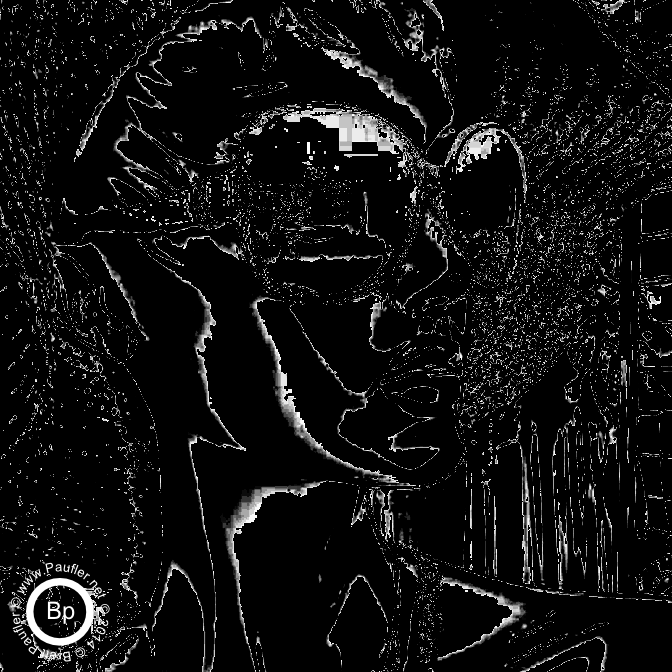
eN=3
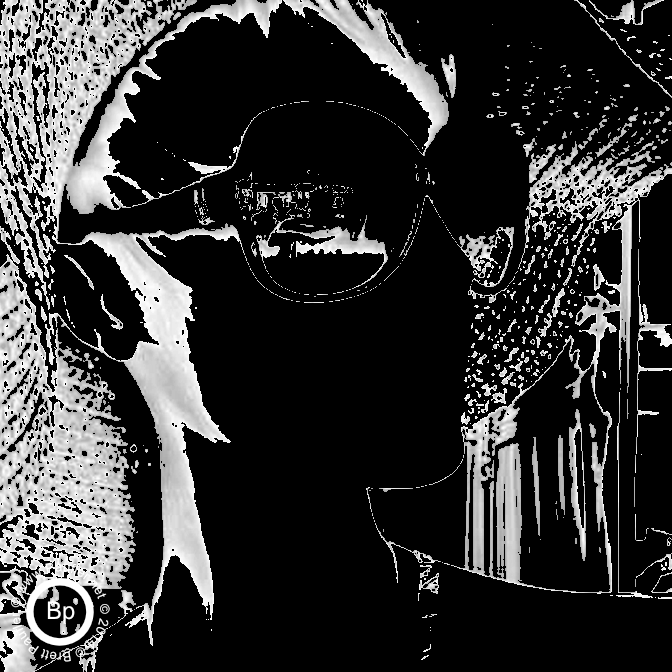
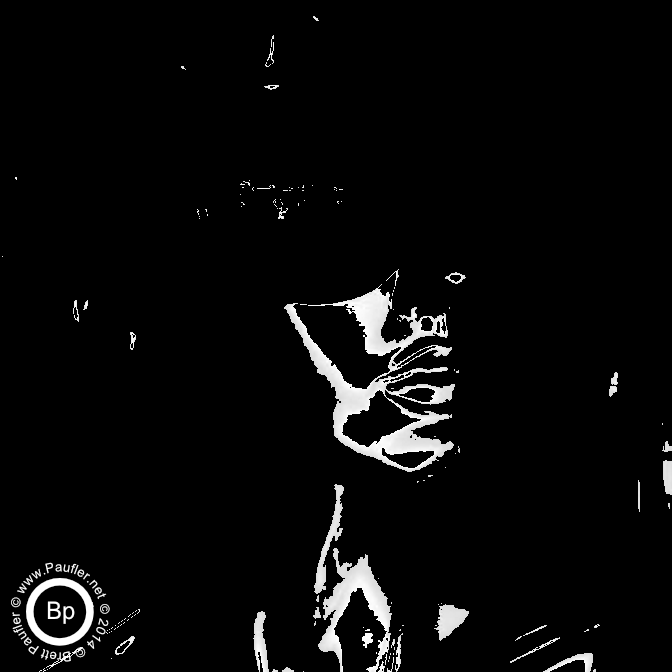
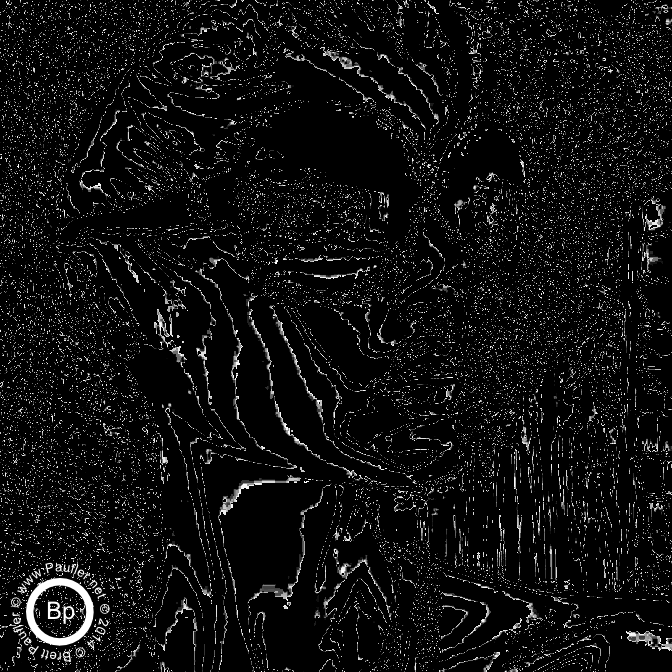
eN=5
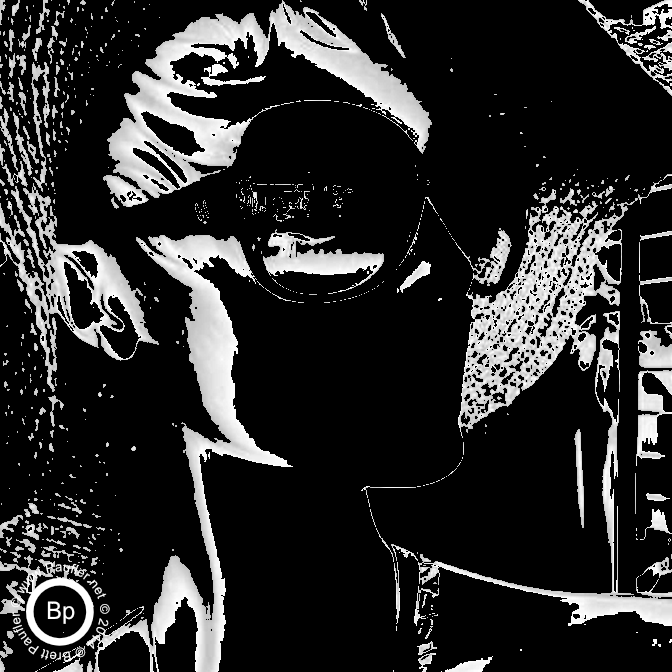
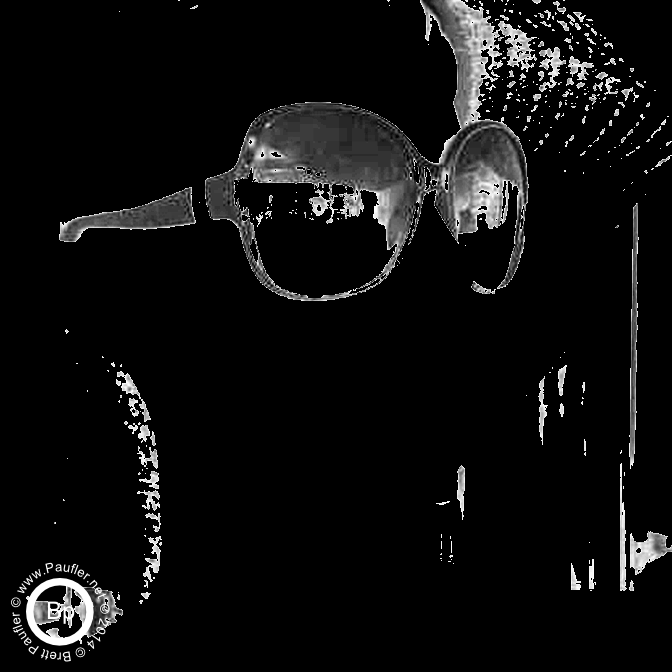
eN=12
And this is the Python Code for the base effect.
Adding the watermark or transforming into a gif is not covered in this tutorial.
import numpy

def stripe(img, eN=5.0, qS=5, qN=1):

    '''takes an img = io.imread(image, as_grey=True)
            so, this presumes 1 grey color band
                at 0.00-1.00 for all pixels

    img = grey image in

    eN is a multipier 'effect Number'
        (5 being a good choice)
        base picture color is multiplied
            by this number before being normalized
            img = (img*eN)%1
        this is what gives the funcky effect to the pictures
    qS = total number of stripes
        (13 on a flag, default 5)
        qS=0 will throw a divide by zero error,
            no attempt to catch
        if one really wants no stripes,
            qS=1 does the trick
    qN = current stripe number
        (1 being the first, to qS typically)
        So, qS=1, qN=1 simply returns a full picture
            modified at eN

    returns a layered stripe,
        which can be used as a color band
        part of a color band
        an alpha
        or saved as a greyScaleImage
            io.imsave(sN, iO)
                where:
                    sN = save name
                    iO = image to be saved
    '''

    eN = float(eN)
    qS = float(qS)
    qN = float(qN)

    high = (qN) / (qS)
    low =  (qN - 1) / (qS)
    #r = qN / qS

    z = numpy.zeros_like(img)

    s = img.copy()
    print "Shape=%s eN=%f qS=%f qN=%f Max=%f Min=%f Mean=%f" % (str(s.shape),
        eN, qS, qN, numpy.amax(s),numpy.amin(s),numpy.mean(s))

    s = (s*eN)%1
    print "Shape=%s eN=%f qS=%f qN=%f Max=%f Min=%f Mean=%f" % (str(s.shape),
        eN, qS, qN, numpy.amax(s),numpy.amin(s),numpy.mean(s))

    s = numpy.where((s > low), s, z)
    print "Shape=%s eN=%f qS=%f qN=%f Max=%f Min=%f Mean=%f" % (str(s.shape),
        eN, qS, qN, numpy.amax(s),numpy.amin(s),numpy.mean(s))

    s = numpy.where((s < high), s, z)
    print "Shape=%s eN=%f qS=%f qN=%f Max=%f Min=%f Mean=%f" % (str(s.shape),
        eN, qS, qN, numpy.amax(s),numpy.amin(s),numpy.mean(s))

    s = numpy.where((s != 0), (s/qN), z)
    print "Shape=%s eN=%f qS=%f qN=%f Max=%f Min=%f Mean=%f" % (str(s.shape),
        eN, qS, qN, numpy.amax(s),numpy.amin(s),numpy.mean(s))

    s = s * qS
    print "Shape=%s eN=%f qS=%f qN=%f Max=%f Min=%f Mean=%f" % (str(s.shape),
        eN, qS, qN, numpy.amax(s),numpy.amin(s),numpy.mean(s))

    print "stripe called (eN:%f qS:%f qN:%f) returning %s image layer"% (eN,
        qS, qN, str(s.shape))

    return s
And here's some code to get a basic (one layer output) and save it to disc.
from skimage import io

image = "./butterfly/PNG/base.png"
img = io.imread(image, as_grey=True)

#iO being equal to imageOut
#stripe being the function we just defined above
iO = stripe(img, eN, qS, qN)

sN = "saveName.png"
io.imsave(sN, iO)
Please use the print statements if this does not suffice. Otherwise, in a nutshell:
1: Greyscale image is multiplied by eN to shift the rate of variance. This is what is happening here: s = (s*eN)%1. If eN=2, the color will sweep from min to max increases to twice the previous rate (if eN=3 at thrice, if eN=4 at frice, and so on). Please forgive me if my English is atrocious, I am a native speaker.
2: Greyscale image is split into bands based on intensity
3: Any value not in current band is zeroed out
4: Resulting band is normalized to intensity downward (0 to 1/qS)
5: And then normalized to the full greyscale range (img * qS)
Perhaps not clear; but then, that's what the code is for.
I will leave colorization of the stripes as an exercise for the reader...
or perhaps it's what I'll post next.
One never knows.
Least of all, me.
Note: the function only returns one band at a time. The sningle image samples below are more or less the exact output after after saving to file:
x = 8
eNN = 1

testData = [(eN, qS, qN)
            for eN in [eNN] # [1.0, 3.0, 5.0, 7.0, 11.5]
            for qS in range(x, x+1,  1)
            for qN in range(1, x+1, 1)
            ]

resetDir()

for (eN,qS,qN) in testData:
    iO = stripe(img, eN, qS, qN)
    sN = "./butterfly/PNG/GIF/stripeTest_eN%s_qS%s_qN%s.png" % (nFL(eNN), nFL(qS), nFL(qN))
    print "Saving %s" % sN
    io.imsave(sN, iO)