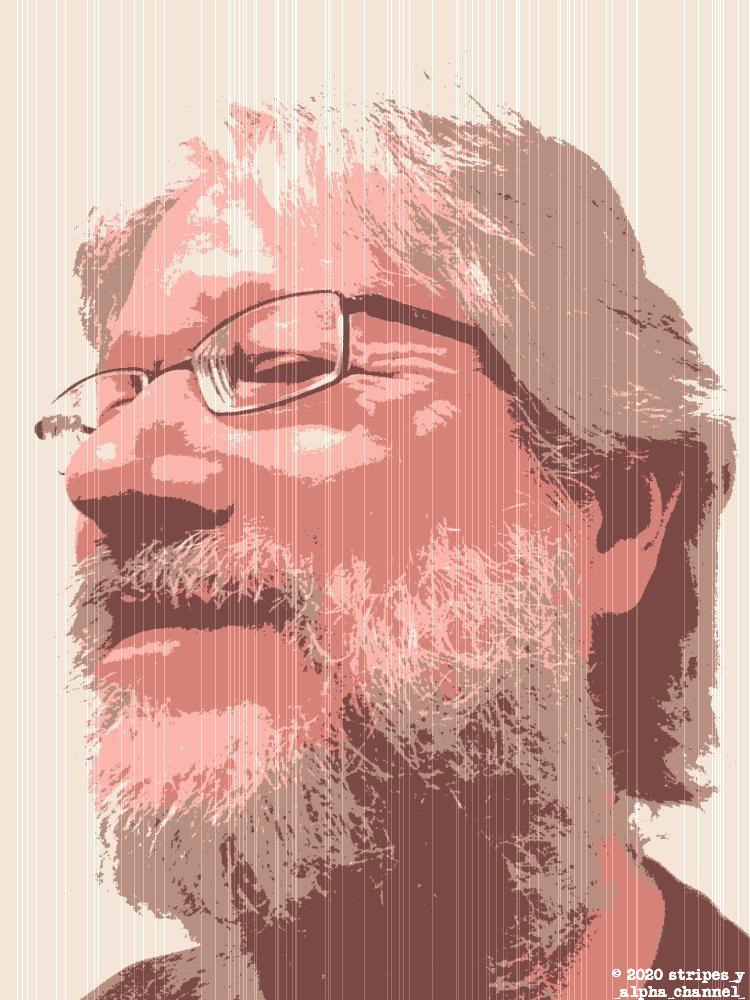
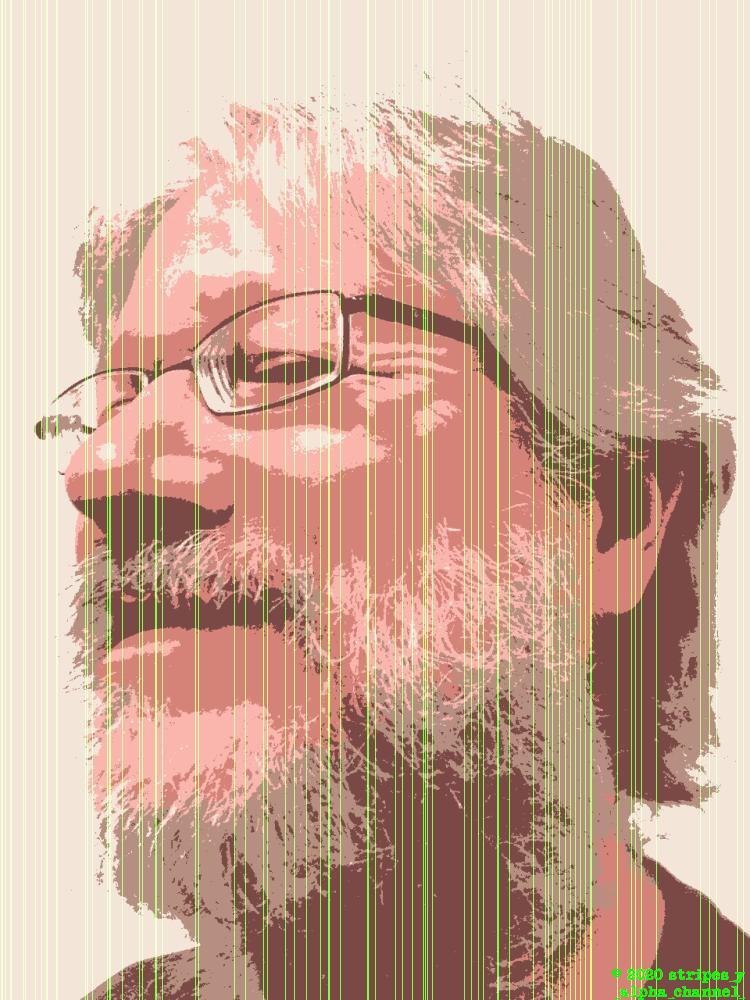
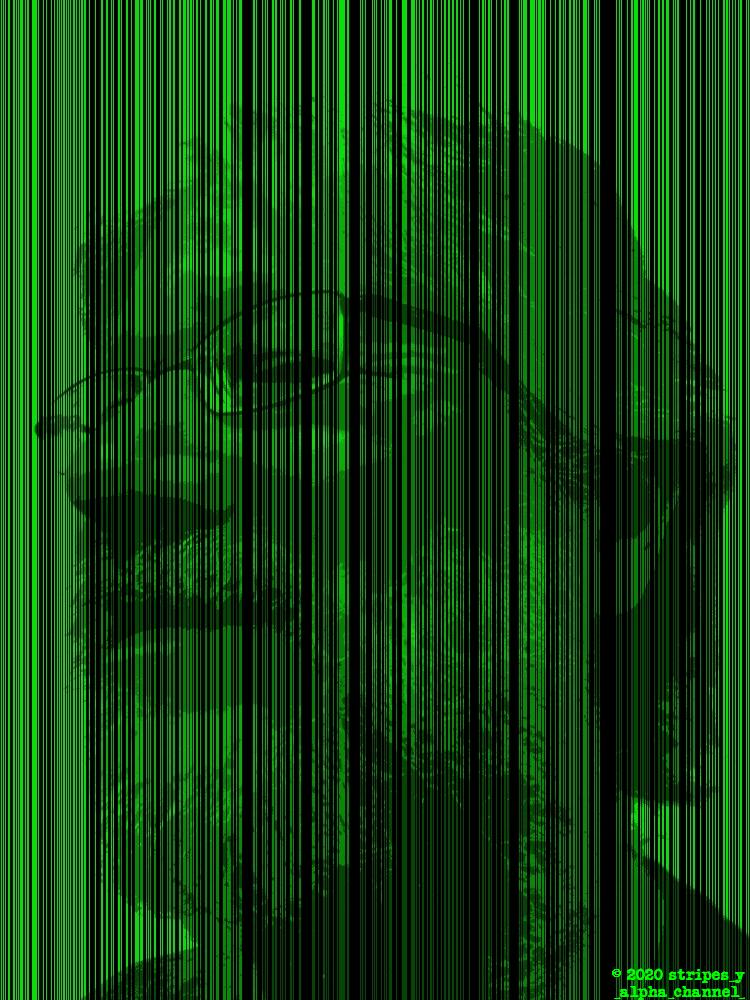
Brett Paufler posterized in a five color image with white vertical stripes The same image (more or less) with the vertical stripes colored green Green Colored vertical stripes make the whole of the image, so the revealed image of myself is a bit more nuanced

G'MIC
stripes_y


The middle image with green stripes is what I was originally going for. But I'm happy to have the one on the far right. I think it looks pretty cool.
Posterizing in Gimp

I was at the Andy Warhol exhibit at The Art Institute of Chicago the other day.

{Um, do you care? I certainly know I would not if I were reading your write-up. So, feel free to jump ahead. But if you like all the nitty-gritty, don't worry. I deliver.}

Now, where was I.

Oh, right.

I was at The Art Institute of Chicago the other day, perusing the Andy Warhol exhibit, when I spied his continence on the wall (call it a self-portrait). And I thought, I can do that... or more specifically, it might be fun to do that.

So, I took a photo of Warhol. And then, I took a photo of myself (i.e. Brett).

Opening the pair in Gimp, I played around for awhile, trying to get the colours to match. During which time, I sort of became convinced that Mr Warhol had used Round Number Integers for his Colours. So, like, (65,60,55) and (175,125,0) would be good examples of what I mean by Round Number Integers... not that I can remember the exact values anymore. Besides, I was reading these values from a photograph of a lithograph, so they were bound to be off one way or another. But all of that is so much of an aside, as the upshot (for me) was the realization that Mr Warhol hadn't (well, he probably hadn't) concerned himself with the specific colours very much. So, I decided to take his lead. And stopped trying to match his colours... even though, in large part, that had been the original purpose of the exercise.

Oh, well.

Having decided to take the easy way out, image -> mode -> indexed -> 5 (in Gimp) gave the base output you see (the five colour posterized effect). But then, a Colour Indexed JPG made PIL (the Python Imaging Library, which I use for some of my home-brew scripts) choke. And so, I re-saved the image in irfanview to recalibrate the settings (i.e. change it back into an RGB image).

And they say I am wordy.

As if.


G'MIC
stripes_y

The first image on the left is the base posterized image (of yours truly, such a handsome guy) after applying G'MIC's stripes_y.

Oh, I, also, ran the images through irfanview (prior to posting any of the JPGs to the web) in order to reduce the file size by reducing the image quality ever so slightly: a roughly 75% decrease in file size for a reduction in quality my eyes cannot perceive when the image is viewed at its default resolution.

Whatever.

Maybe, I should just move on and post the code for the white stripes_y effect.

gmic `
  input brett_ala_warhol.jpg `
  stripes_y 20 `
  output stripes_white.jpg

All easy-peasy.

Or at least, it's all easy-peasy considering what it took to turn those stripes green.

gmic `
  input brett_ala_warhol.jpg `
  input [0],[0],1,1,0 `
  input [0],[0],1,1,0 `
  input [0],[0],1,1,0 `
  stripes_y[-2] 20 `
  normalize[-2] 0,255 `
  append[-3] [-2],c `
  append[-3] [-1],c `
  remove[-1] `
  remove[-1] `
  +blend lighten `
  output[-1] stripes_green.jpg

That's a bit more complicated.

Surprisingly, it's no more complicated than the code required to make the green lined image on the right. A few parameters are changed. And instead of blending in lighten mode, the blend is done in darken mode; for which, the code follows.

gmic `
  input brett_ala_warhol.jpg `
  input [0],[0],1,1,0 `
  input [0],[0],1,1,0 `
  input [0],[0],1,1,0 `
  stripes_y[-2] 75 `
  normalize[-2] 0,255 `
  append[-3] [-2],c `
  append[-3] [-1],c `
  remove[-1] `
  remove[-1] `
  +blend darken `
  output[-1] stripes_outline.jpg

And now, how about a line-by-line breakdown of what's happening, keeping in mind that the trailing back-tick (at the end of each line) is PowerShell's line continuation character, meaning the above is essentially a one-liner... ready to be cut and pasted into the command line.


More Semi-Line Effects

The following images (with accompanying code snippets) did not satisfy my current needs. But that doesn't mean they will not be useful at some later date... or at this time, for somebody else.

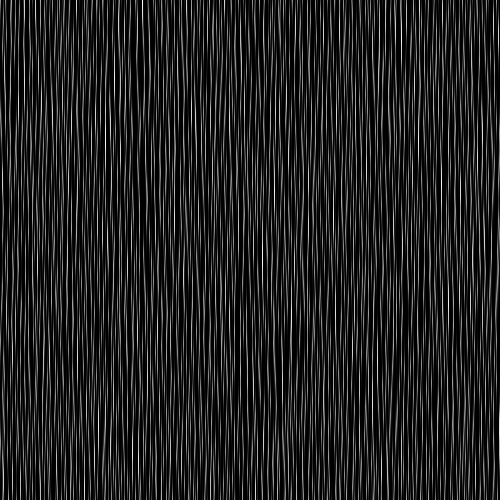
Black Image with White stripes that are placed randomly and taper towards the end
Long Tapered Lines
gmic `
  input 600,10,1,1 `
  noise_poissondisk 3,25 `
  resize[-1] 600,600 `
  blur_y[-1] 10% `
  crop 51,51,550,550 `
  normalize 0,255 `
  output[-1] long.png
More or less the same as the previous, rather than lines, tapering dashes (so, shorter lines) are placed randomly, tapering quickly
Short Tapered Dashes
gmic `
  input 600,200,1,1 `
  noise_poissondisk 5,25 `
  resize[-1] 600,600 `
  blur_y[-1] 2% `
  crop 51,51,550,550 `
  normalize 0,255 `
  output[-1] short.png

The easiest way to see what is happening is to view the incrementally growing command in the display viewer.
  1. Run the first line.
  2. Run the first two lines.
  3. Run the first three lines.

  4. Etcetera.
    • Be sure to omit the trailing back-tick at the end of the last line.
      • It's needed for the other lines, though.
    • This is how I built up the code in the first place.


Sayonara

So long, and thanks be to all the fish.


more
ALPHA CHANNEL
command line image manipulations

© copyright 2020 Brett Paufler
paufler.net@gmail.com